Quick Diffuser Guide

How to Setup My Aro X25 Home Scent Diffuser?
How to Set up the Aromely App?
1. Unboxing
What's inside the box:
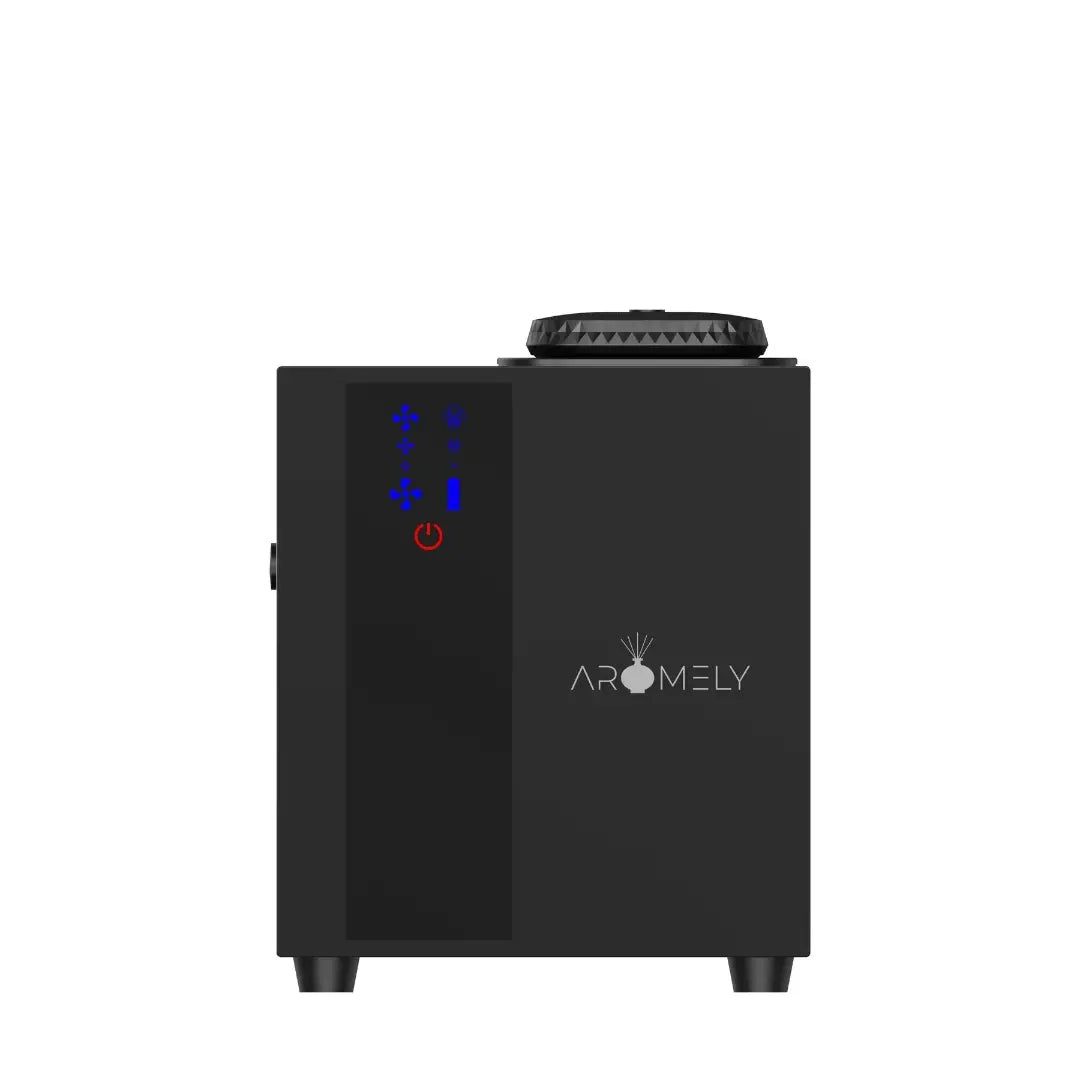
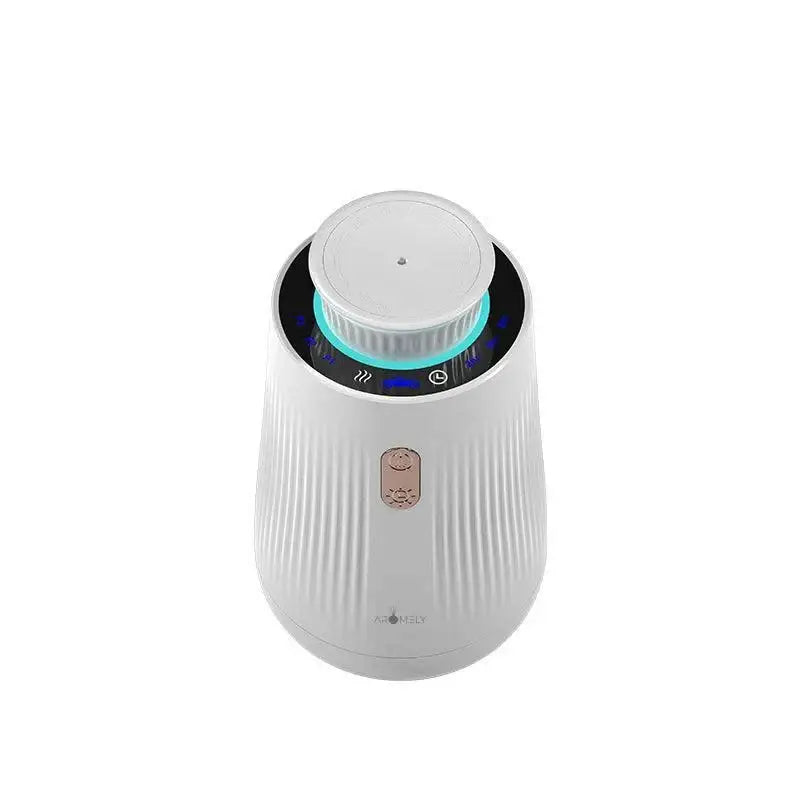
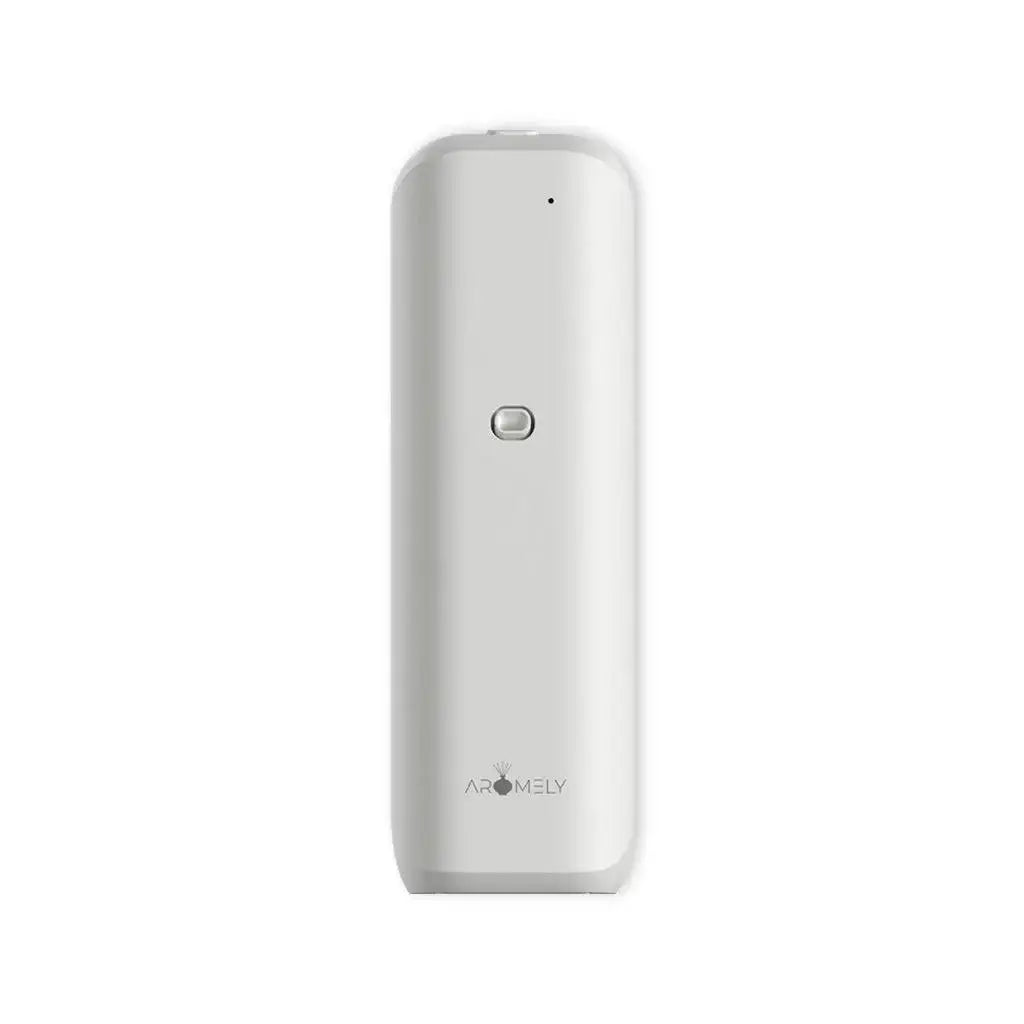
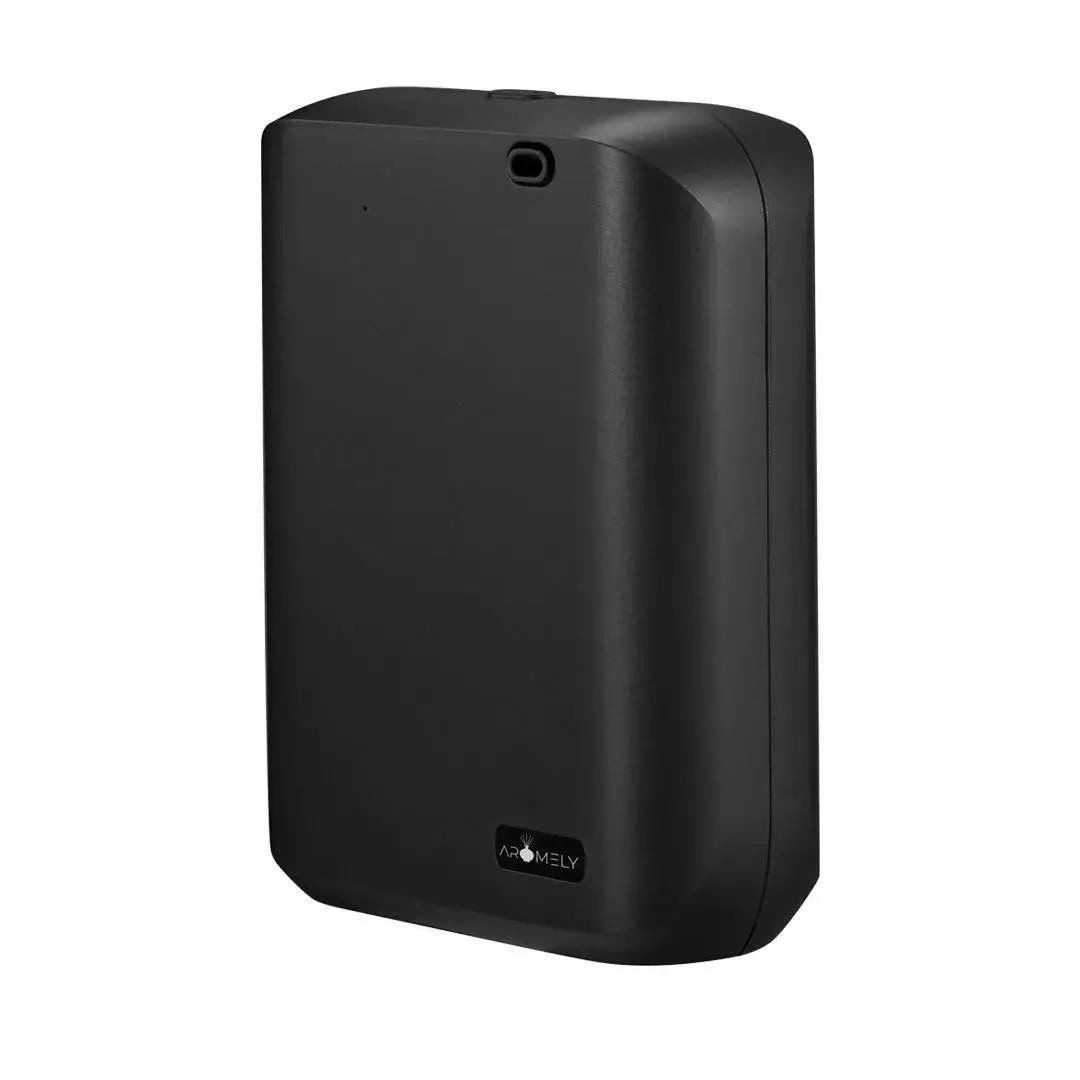
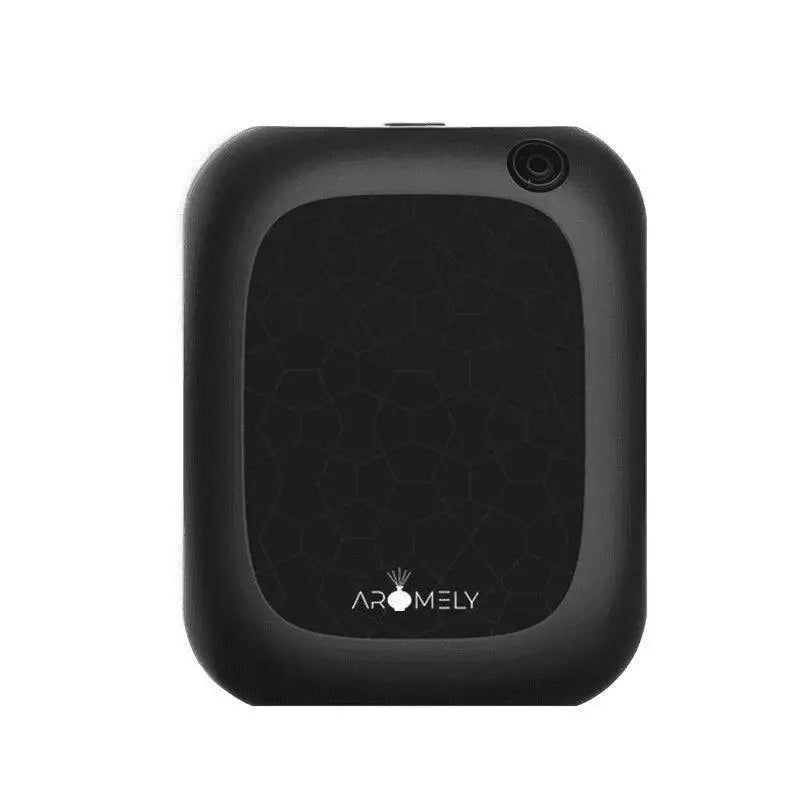
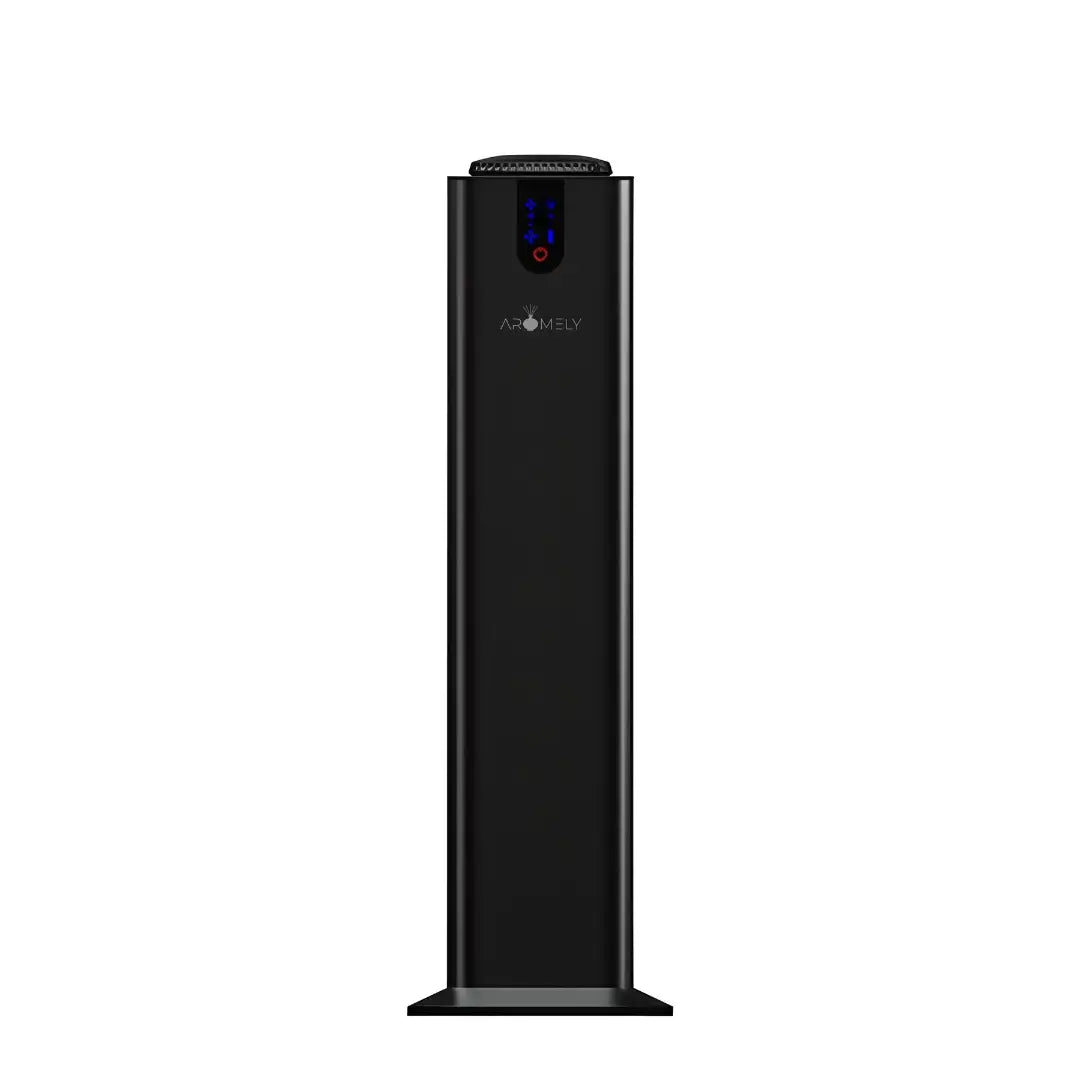
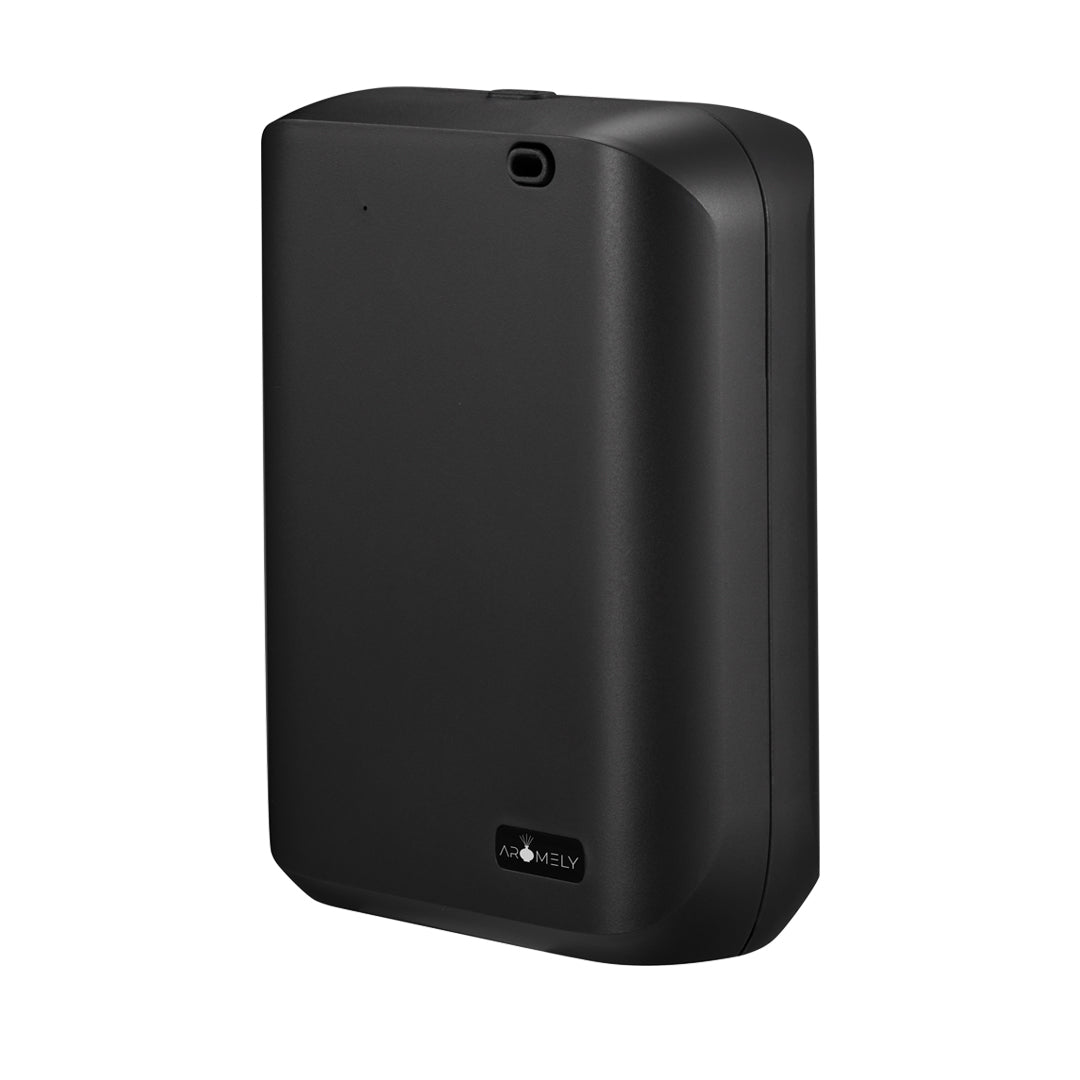
- Diffuser
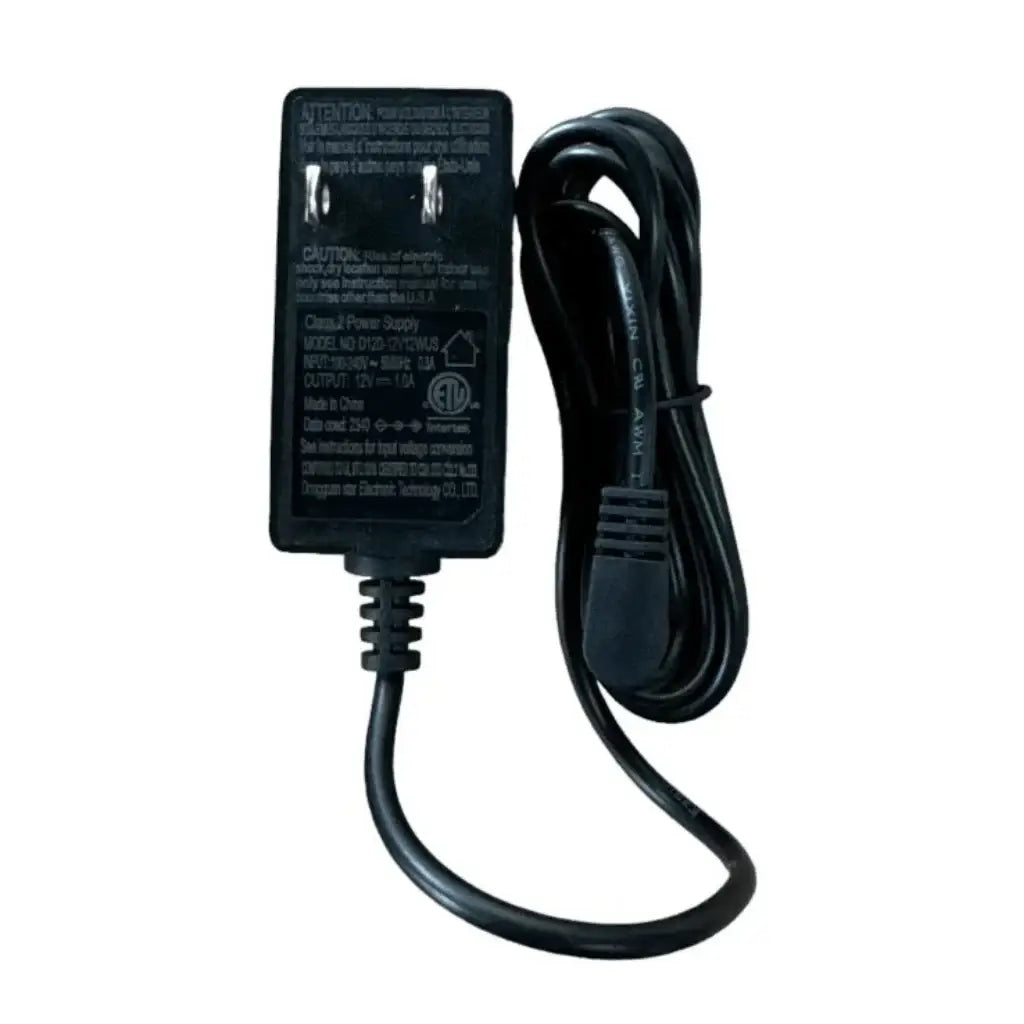
- Power Supply
- Instruction Manual
2. Opening & adding Oil
⚠️ IMPORTANT! Do not mix oil with water.
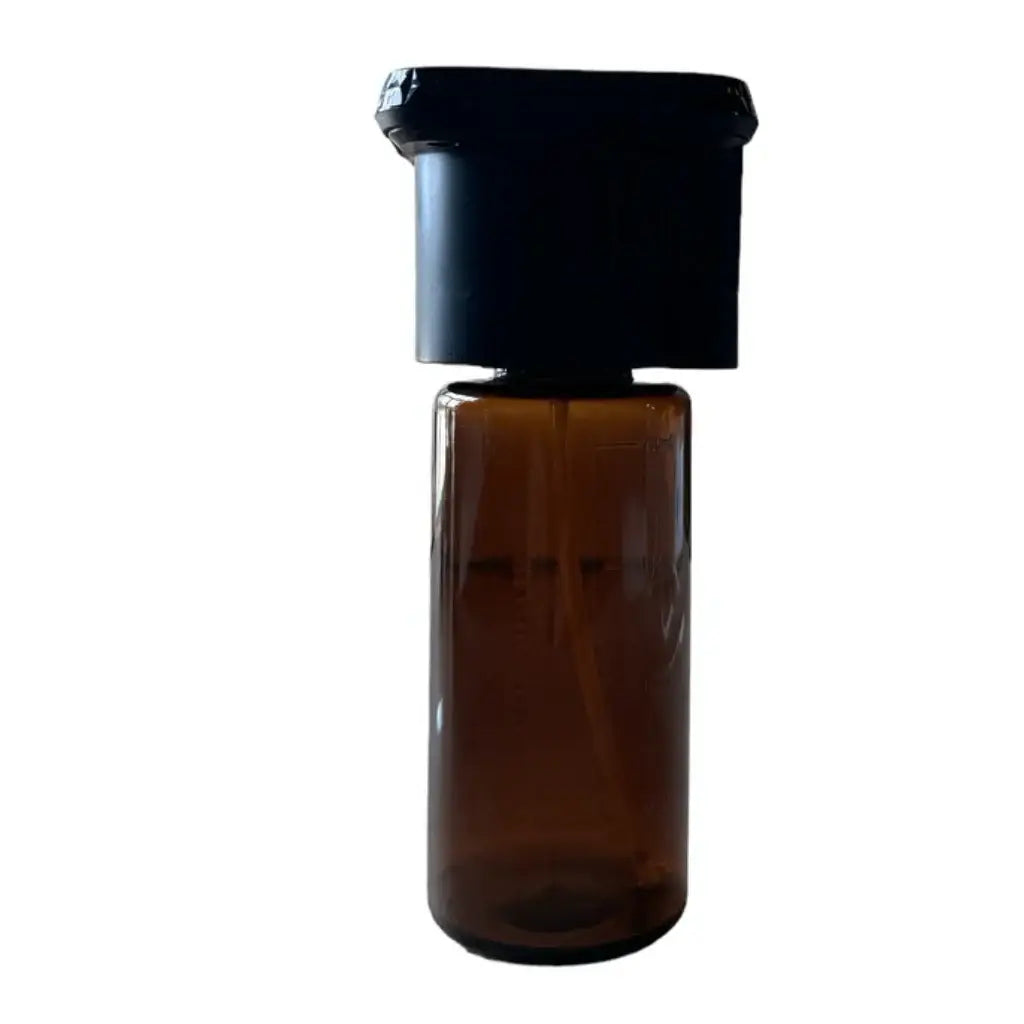
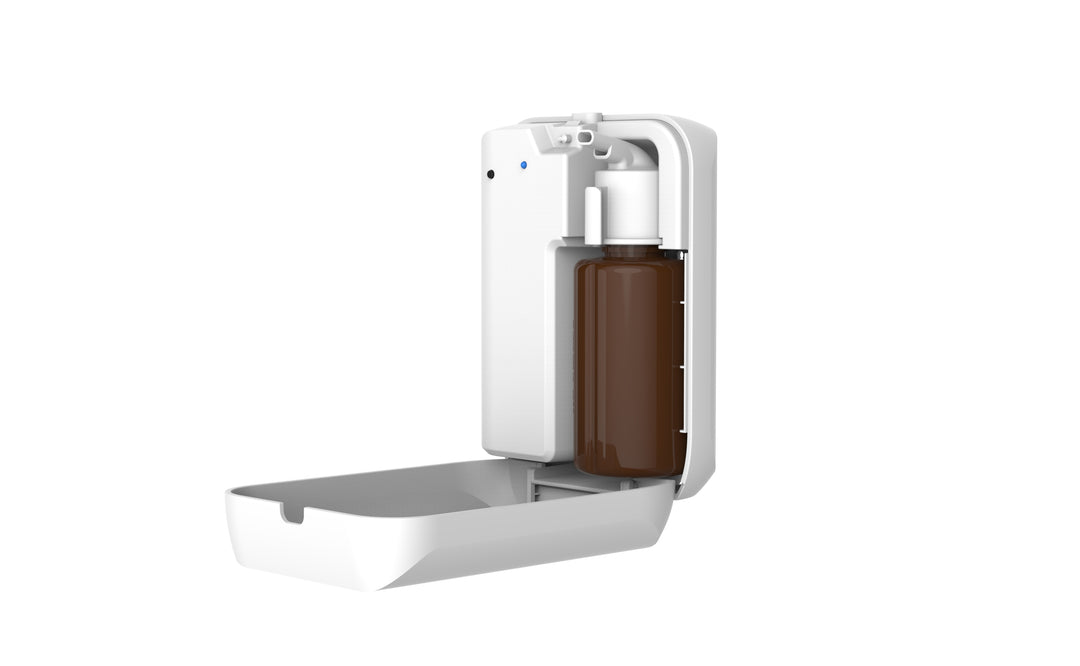
- Press the push down button at the top of the diffuser to access the bottle.
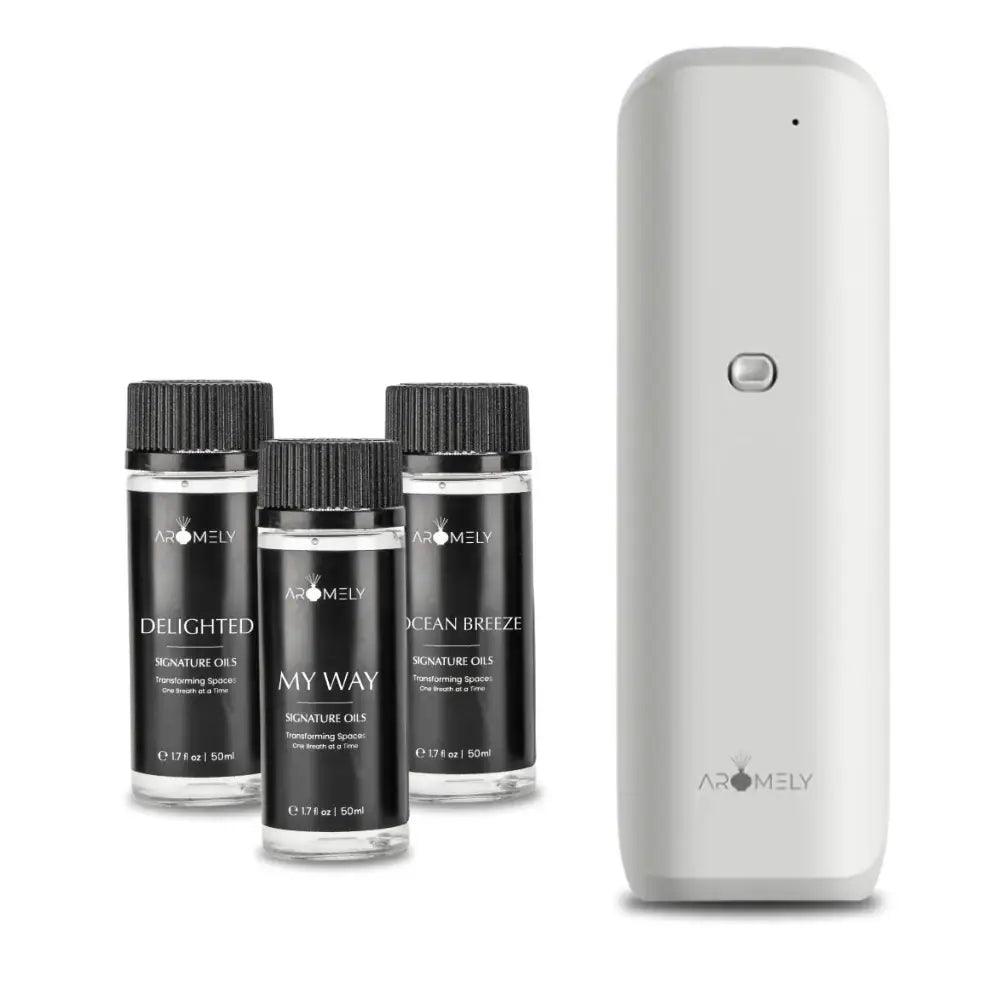
- Pull the empty bottle out and add your favorite diffuser oil.
- Connect the diffuser to power (it will automatically start working on it's default settings. Follow next step to download the APP and modify the settings).
Step 1: Download Aromely App
- Search and download AROMELY App on Google Play or Apple App Store.
Open the App Store (iPhone) or Google Play Store (Android).
Search for "Aromely" in the search bar.
Click on the Aromely app from the search results.
Tap Download (iPhone) or Install (Android).
Once the app is installed, open it.
When prompted, allow Bluetooth permissions to enable device connectivity.
Step 2: Accessing and Managing Your Diffuser
Open the Aromely App.
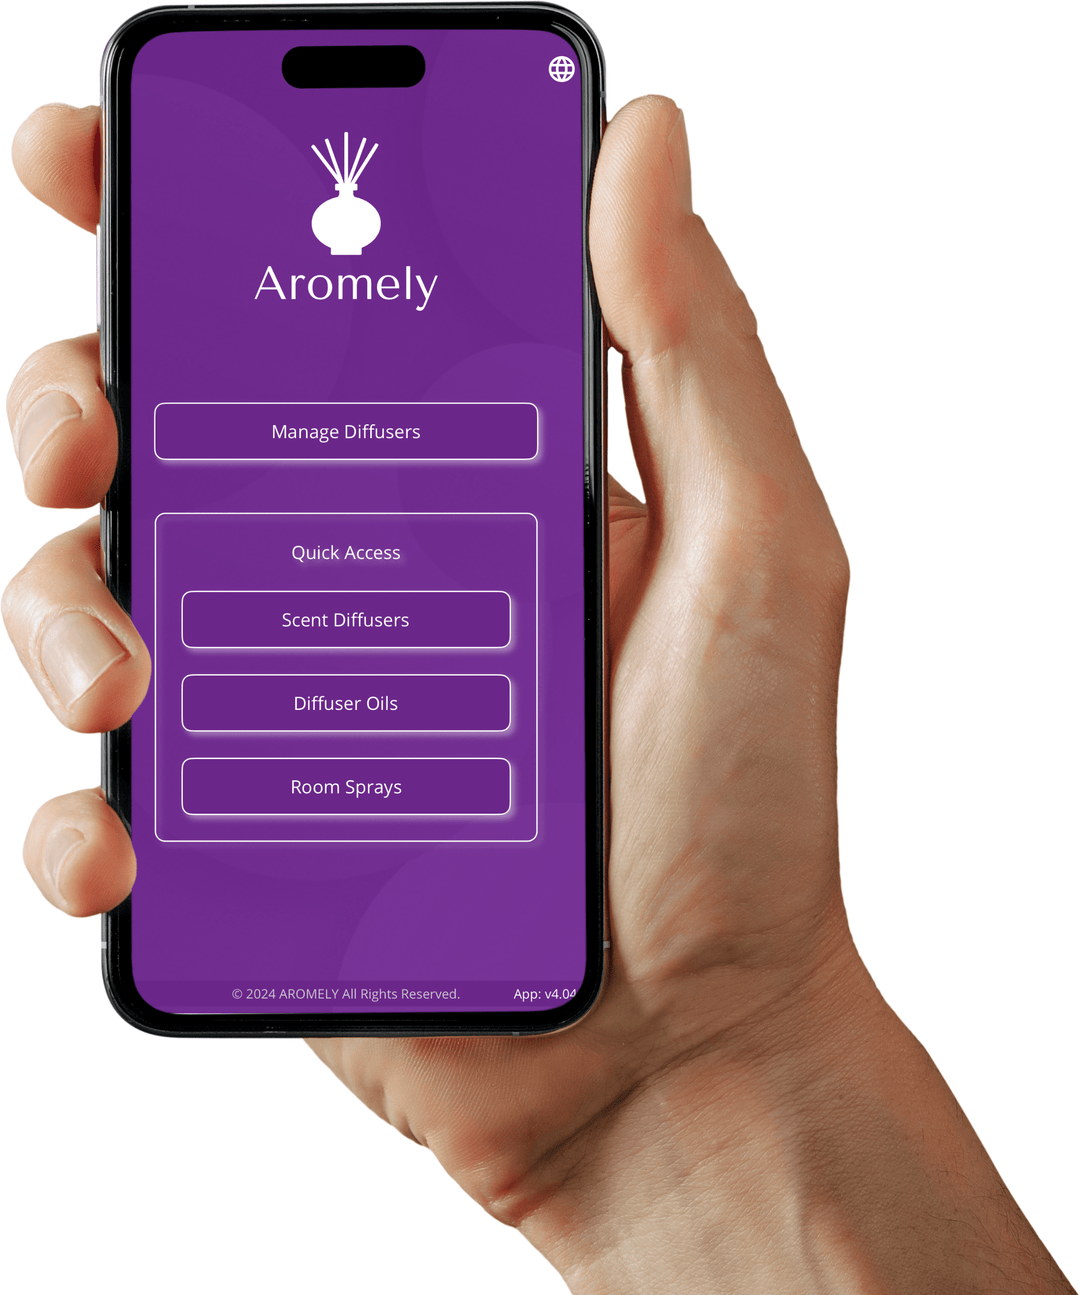
On the home screen, you will see several options.
To manage your diffuser, tap on "Manage Diffusers".
This will take you to the device management screen, where you can add, configure, and control your diffuser.
💡 Additional Features on the Home Screen:
Language Selection: Tap the globe icon at the top right to switch the app language from English (default) to Spanish.
Quick Access: The Scent Diffusers, Diffuser Oils, and Room Sprays buttons provide direct links to Aromely products on the website for easy browsing.
Step 3: Viewing Available Diffusers
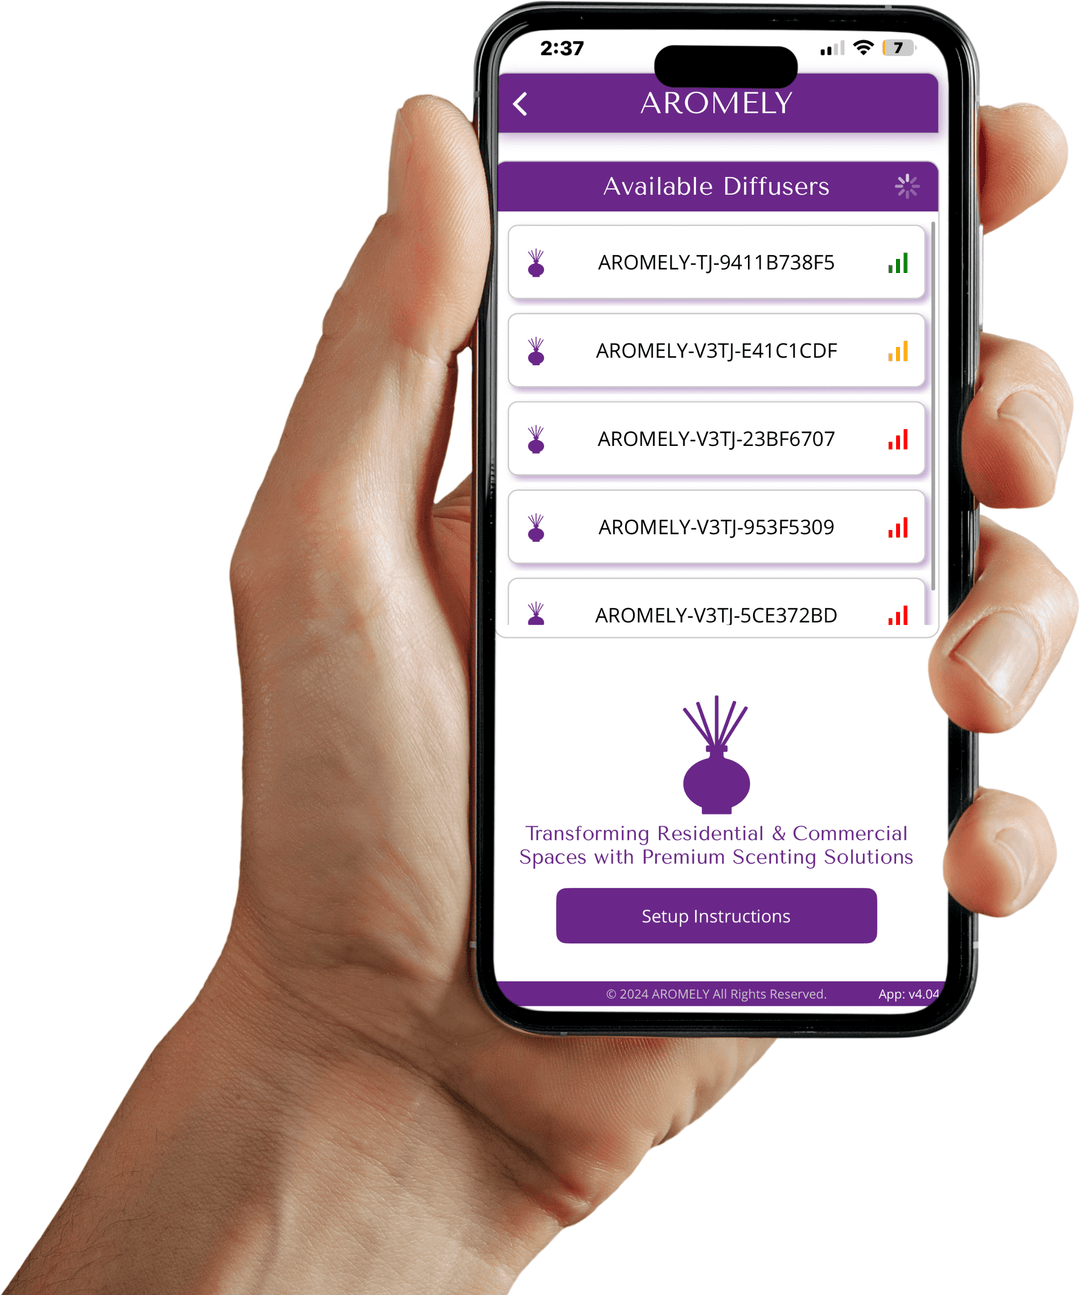
After tapping "Manage Diffusers", the app will display a list of all available Aromely diffusers within Bluetooth range.
The diffusers will automatically appear once Bluetooth permissions have been granted.
Each diffuser will display its name and signal strength (green for strong, red for weak).
At the bottom of the screen, you will find a "Setup Instructions" button. Tapping this button will provide access to user guides and instructions for easier setup.
Step 4: Creating and Managing Schedules
Select a Diffuser:
After completing Step 3, tap on the diffuser you want to manage.
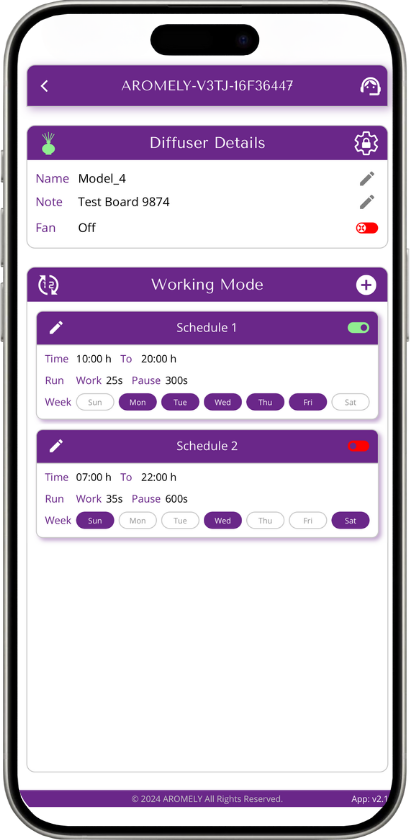
This will open the Diffuser Details and Working Mode screen.
Understanding the Diffuser Details Section:
Customer Service Icon (Top Right):
This allows Aromely support to remotely access your diffuser for troubleshooting.
Available only during business hours.
Settings Icon (Below Customer Service Icon):
Tap this to change the default diffuser password to a custom password (optional).
Name & Note:
You can rename your diffuser or add a custom note (e.g., "Master Room - Peaceful").
Fan Setting:
Some diffusers have a fan control option, but not all models support this feature.
If your diffuser does not have a fan, this control will not appear in the app.
Understanding the Working Mode Section:
Time Display (Clock Icon):
Tap to switch between 12-hour mode (AM/PM) and 24-hour military time.
Adding a Schedule (Plus + Icon):
Tap the + icon to create a new schedule.
You can add up to 5 different schedules for each diffuser.
Modifying a Schedule (Pencil Icon):
Tap the pencil icon on the left side of any schedule to edit it.
Activating or Deactivating a Schedule (On/Off Switch):
Each schedule has a toggle switch to enable or disable it.
Step 5: Programming a Schedule
Select the Diffuser:
Follow Step 4 to access the Working Mode section.
Tap the pencil icon on an existing schedule to edit it or tap the + icon to create a new one.
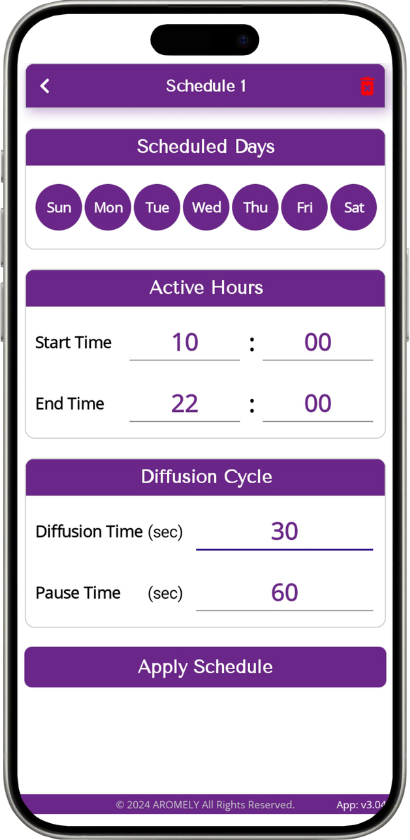
Set Scheduled Days:
Select the days the schedule should be active (e.g., Monday to Friday).
Days will be highlighted when selected.
Set Active Hours:
Choose the Start Time (when the diffuser turns on).
Choose the End Time (when the diffuser turns off).
Set Diffusion Cycle:
Diffusion Time: Set how long the diffuser will work during each cycle (e.g., 30 seconds).
Pause Time: Set how long the diffuser will pause between diffusion cycles (e.g., 60 seconds).
Save the Schedule:
Tap “Apply Schedule” to save your settings.
Deleting a Schedule:
To remove a schedule, tap the trash icon in the top-right corner.
Need Technical Support?
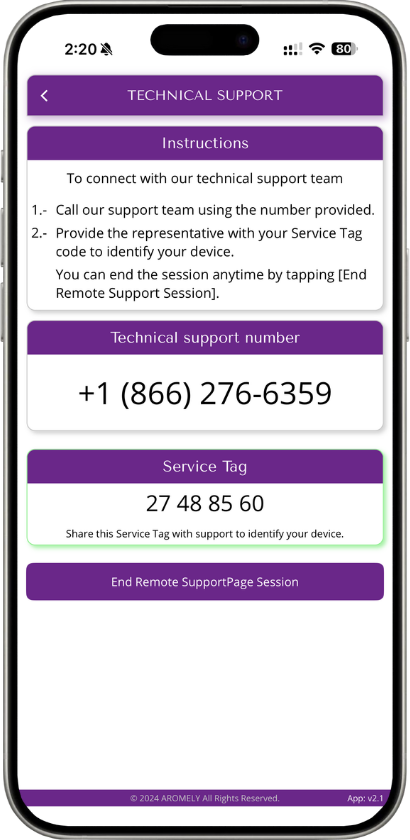
Open the Technical Support Screen:
Tap the Customer Service icon (headset icon) in the Diffuser Details section.
This will open the Technical Support page.
How to Contact Support:
Call the technical support number displayed on the screen.
Provide the representative with your Service Tag Code to identify your device.
If you need remote assistance, the support team can access your diffuser during business hours.
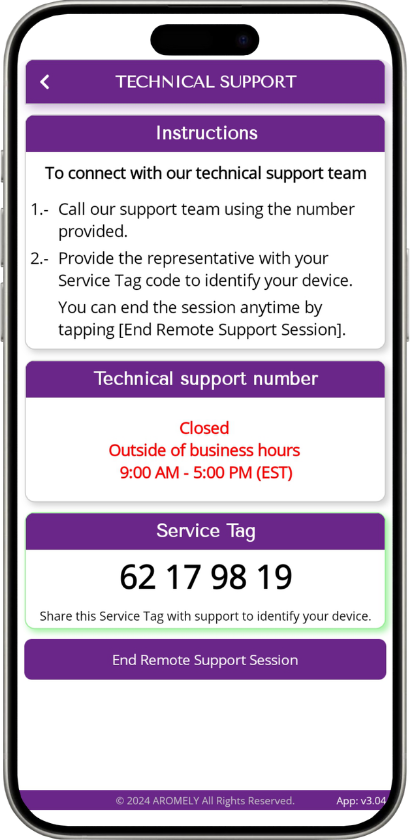
Business Hours & Availability:
If you access the page outside of business hours, the screen will display a “Closed” message.
Support is available from 9:00 AM - 5:00 PM (EST) on business days.
Ending a Remote Support Session:
If you granted remote access for troubleshooting, you can end the session at any time by tapping “End Remote Support Session”.
¿Cómo Configurar mi Aro X25?
¿Cómo Configurar la App de Aromely?
1. Contenido del paquete
Qué hay dentro de la caja:
- Difusor
- Fuente de alimentación
- Manual de instrucciones


2. Agregar el aceite
⚠️ ¡IMPORTANTE! No mezcles el aceite con agua.
- Para sacar la botella del difusor:
Usa la llave magnética que viene incluida. Colócala en el lugar del difusor donde está el ícono de cerradura (puede estar al frente o atrás, según el modelo). Esto liberará la botella sin problema. Mira las imágenes para ver exactamente dónde colocar la llave magnética.
- Extrae la botella vacía, desenrosca la tapa y agrega tu aceite de difusor favorito.
- Conecta el difusor a la corriente (empezará a funcionar automáticamente con la configuración predeterminada. Sigue el siguiente paso para descargar la APP y personalizar los ajustes).
Paso 1: Descarga la app de Aromely
- Busca y descarga la app AROMELY en Google Play o Apple App Store.
Descargar Aromely para Android
Abre la App Store (iPhone) o Google Play Store (Android).
Busca "Aromely" en la barra de búsqueda.
Haz clic en la app Aromely en los resultados.
Toca Descargar (iPhone) o Instalar (Android).
Una vez instalada la app, ábrela.
Cuando se te solicite, permite los permisos de Bluetooth para habilitar la conectividad con el dispositivo.

Paso 2: Acceder y Controlar tu Difusor
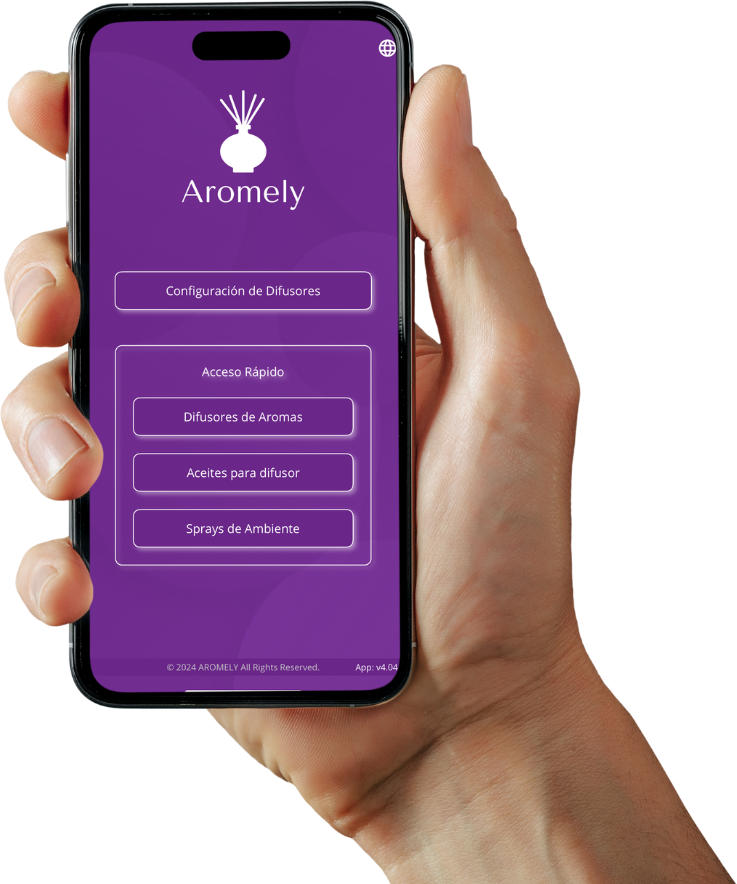
Abre la app Aromely.
En la pantalla de inicio, verás varias opciones.
Selección de idioma: Toca el icono del globo en la esquina superior derecha para cambiar el idioma de la app de inglés (predeterminado) a español.
Para gestionar tu difusor, presione "Configuracion de Difusores".
Esto te llevará a la pantalla de gestión del dispositivo, donde podrás agregar, configurar y controlar tu difusor.
💡 Funciones adicionales en la pantalla de inicio:
Acceso rápido: Los botones de Difusores de Aroma, Aceites para Difusor y Sprays de Ambiente ofrecen enlaces directos a los productos Aromely en el sitio web para una navegación rápida.
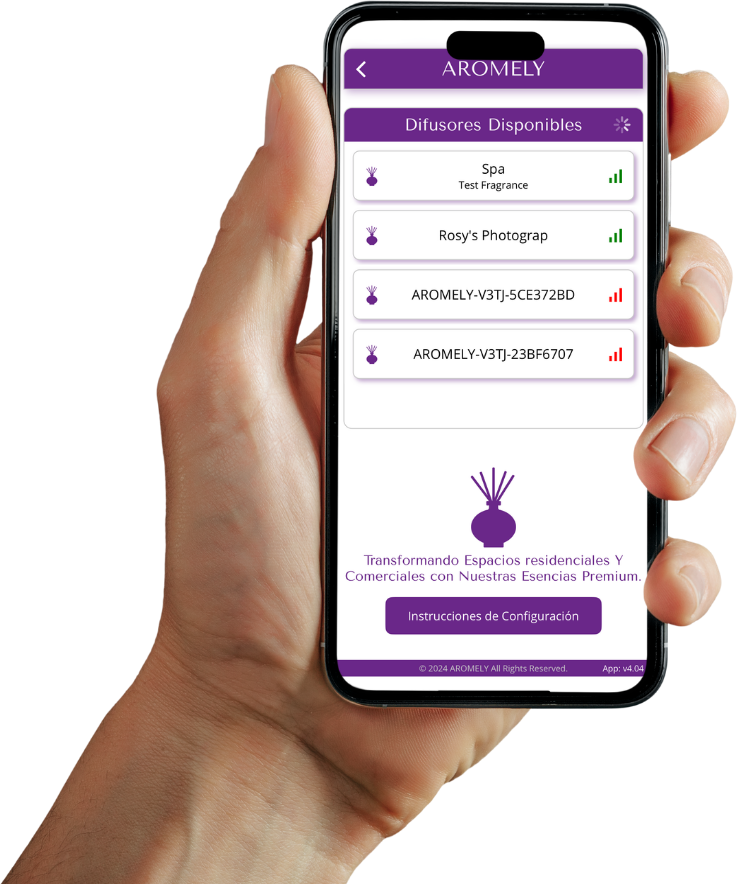
Paso 3: Ver difusores disponibles
Después de tocar "Gestionar Difusores", la app mostrará una lista de todos los difusores Aromely disponibles dentro del rango de Bluetooth.
Los difusores aparecerán automáticamente una vez que se hayan otorgado los permisos de Bluetooth.
Cada difusor mostrará su nombre y la intensidad de la señal (verde para señal fuerte, rojo para señal débil).
En la parte inferior de la pantalla, encontrarás un botón llamado "Instrucciones de Configuración".
Al tocar este botón, tendrás acceso a guías del usuario e instrucciones para facilitar la configuración.
Paso 4: Crear y Gestionar horarios
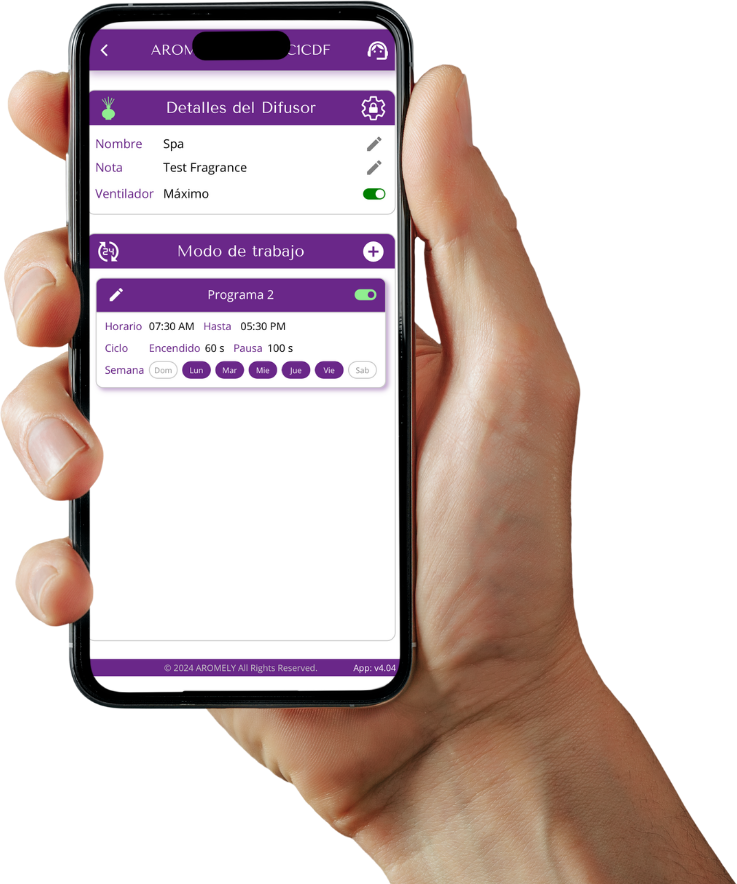
Selecciona un difusor:
Después de completar el Paso 3, toca el difusor que deseas configurar.
Esto abrirá la pantalla de Detalles del Difusor y Modo de Trabajo.
Una vez aquí, encontrarás las siguientes acciones:
- Ícono de atención al cliente (en la zona superior derecha):
Esta función permite que el soporte de Aromely acceda remotamente a tu difusor para ayudarte con problemas técnicos.
Disponible solo durante el horario comercial: lunes a viernes, de 9 a. m. a 5 p. m. (EST).
- Ícono de Configuración de contraseña (debajo del ícono de atención al cliente):
Tócalo para cambiar la contraseña predeterminada del difusor por una personalizada (opcional).
- Nombre y Nota:
Puedes renombrar tu difusor o agregar una nota personalizada. Por ejemplo:
- Nombre: "Cuarto Principal"
- Nota : "Nombre del Aroma"
- Entendiendo la sección de Modo de Funcionamiento:
Visualización de Hora (Ícono de 24/12 hrs:
Toca para cambiar entre formato de 12 horas (AM/PM) y formato militar de 24 horas.
- Agregar un Horario (Ícono de +):
Toca el ícono + para crear un nueva programación.
Puedes agregar hasta 5 programaciones diferentes para cada difusor.
- Modificar un Horario (Ícono de Lápiz):
Toca el ícono de lápiz a la izquierda de cualquier horario para editarlo.
- Activar o Desactivar una Programación (Interruptor On/Off):
Cada programación tiene un interruptor para activarlo o desactivarlo.
Paso 5: Programar un Horario
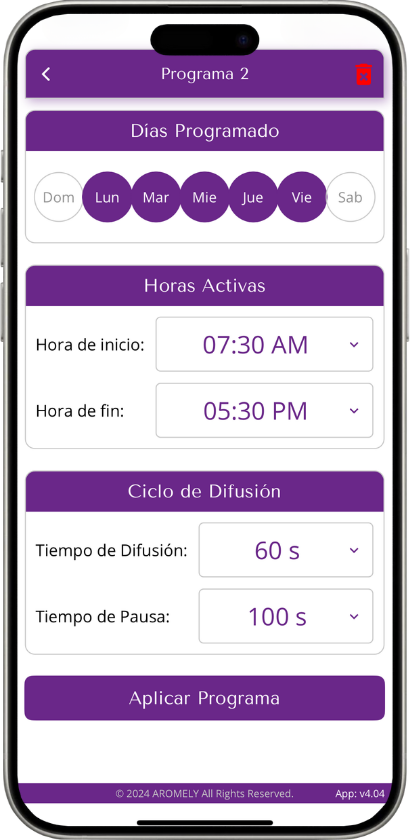
Seleccionar el Difusor:
Sigue el Paso 4 para acceder a la sección de Modo de Funcionamiento.
Toca el ícono de lápiz en un horario existente para editarlo o toca el ícono + para crear uno nuevo.
Establecer Días Programados:
Selecciona los días en los que el horario debe estar activo (por ejemplo, lunes a viernes).
Los días se resaltarán cuando sean seleccionados.
Establecer Horas Activas:
Elige la Hora de Inicio (cuando el difusor se encenderá).
Elige la Hora de Finalización (cuando el difusor se apagará).
Configurar el Ciclo de Difusión:
Tiempo de Difusión: Establece cuánto tiempo funcionará el difusor durante cada ciclo (por ejemplo, 30 segundos).
Tiempo de Pausa: Establece cuánto tiempo se pausará el difusor entre ciclos de difusión (por ejemplo, 60 segundos).
Guardar el Horario:
Toca “Aplicar Horario” para guardar tu configuración.
Eliminar un Horario:
Para eliminar un horario, toca el ícono de basura en la esquina superior derecha.
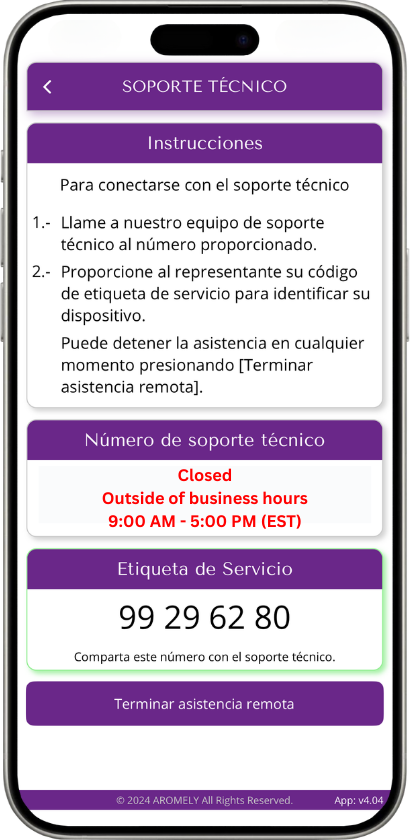
Necesitas Soporte técnico?
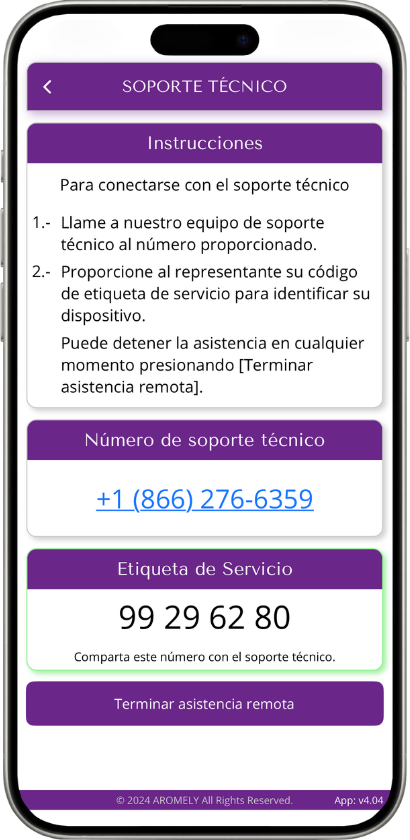
Abrir la Pantalla de Soporte Técnico:
Toca el ícono de Atención al Cliente (ícono de auriculares) en la sección de Detalles del Difusor.
Esto abrirá la página de Soporte Técnico.
Cómo Contactar al Soporte:
Llama al número de soporte técnico que aparece en la pantalla.
Proporciona al representante tu Código de Servicio (Service Tag) para identificar tu dispositivo.
Si necesitas asistencia remota, el equipo de soporte puede acceder a tu difusor durante el horario laboral.
Horario de Atención y Disponibilidad:
Si accedes a la página fuera del horario laboral, la pantalla mostrará un mensaje de “Cerrado”.
El soporte está disponible de 9:00 AM a 5:00 PM (EST) en días laborables.
Finalizar una Sesión de Soporte Remoto:
Si has otorgado acceso remoto para resolución de problemas, puedes finalizar la sesión en cualquier momento tocando “Finalizar Sesión de Soporte Remoto”.
Need Further Assistance?
We hope this guide was helpful. For further questions or support, chat with us or give us a call — we’re here to help you.
ⓘ The Call Support Center is available Monday through Friday from 9 AM to 5 PM EST. If you call outside of office hours, our virtual assistant may help you resolve your inquiry.


