


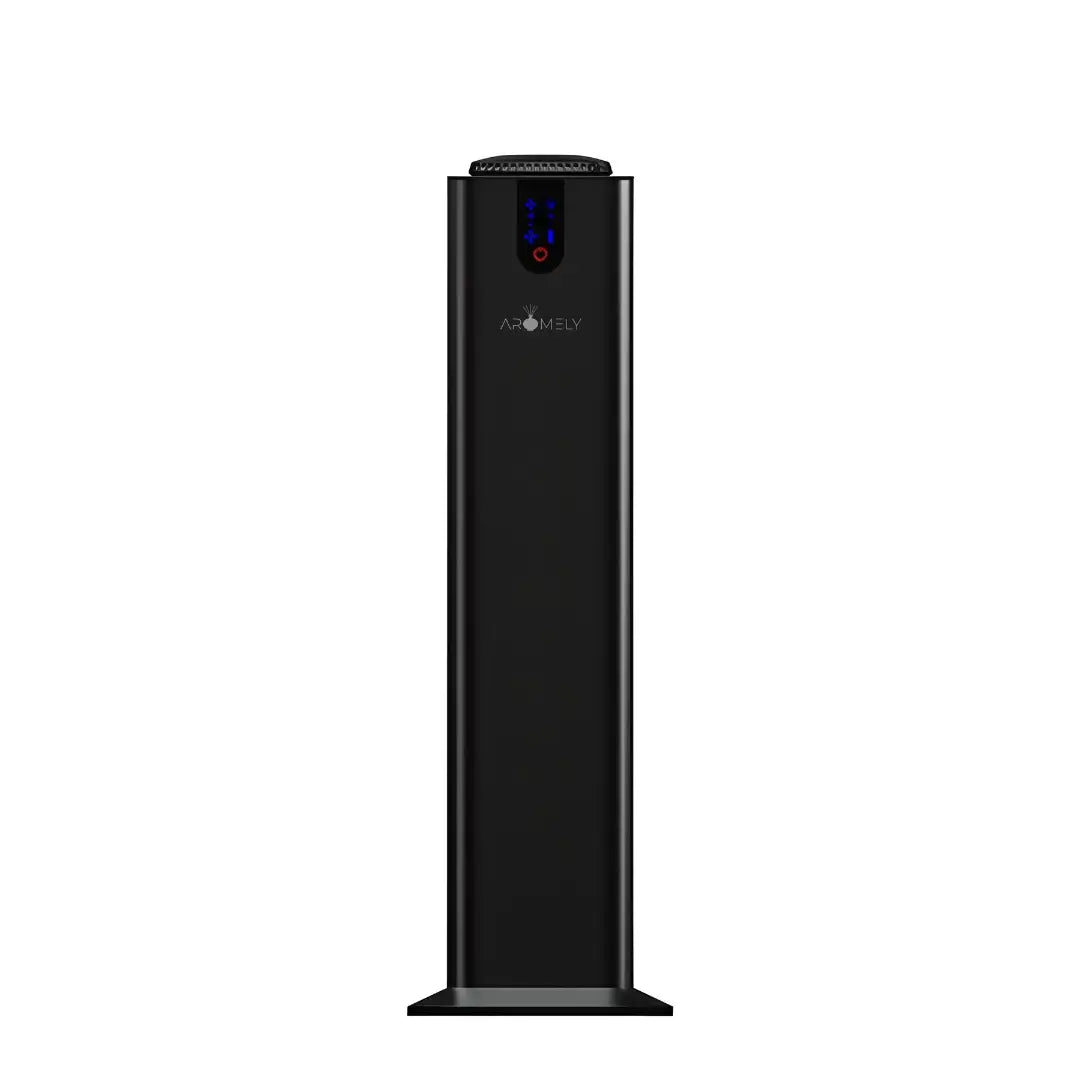


Quick Aro Lux Diffuser Guide
Aro Lux can be used wirelessly with batteries or plugged in with the included power cable. (Batteries not included.)


1. Unboxing
Whats inside the box:
- Power Cable
- Hanging Board
- User Manual
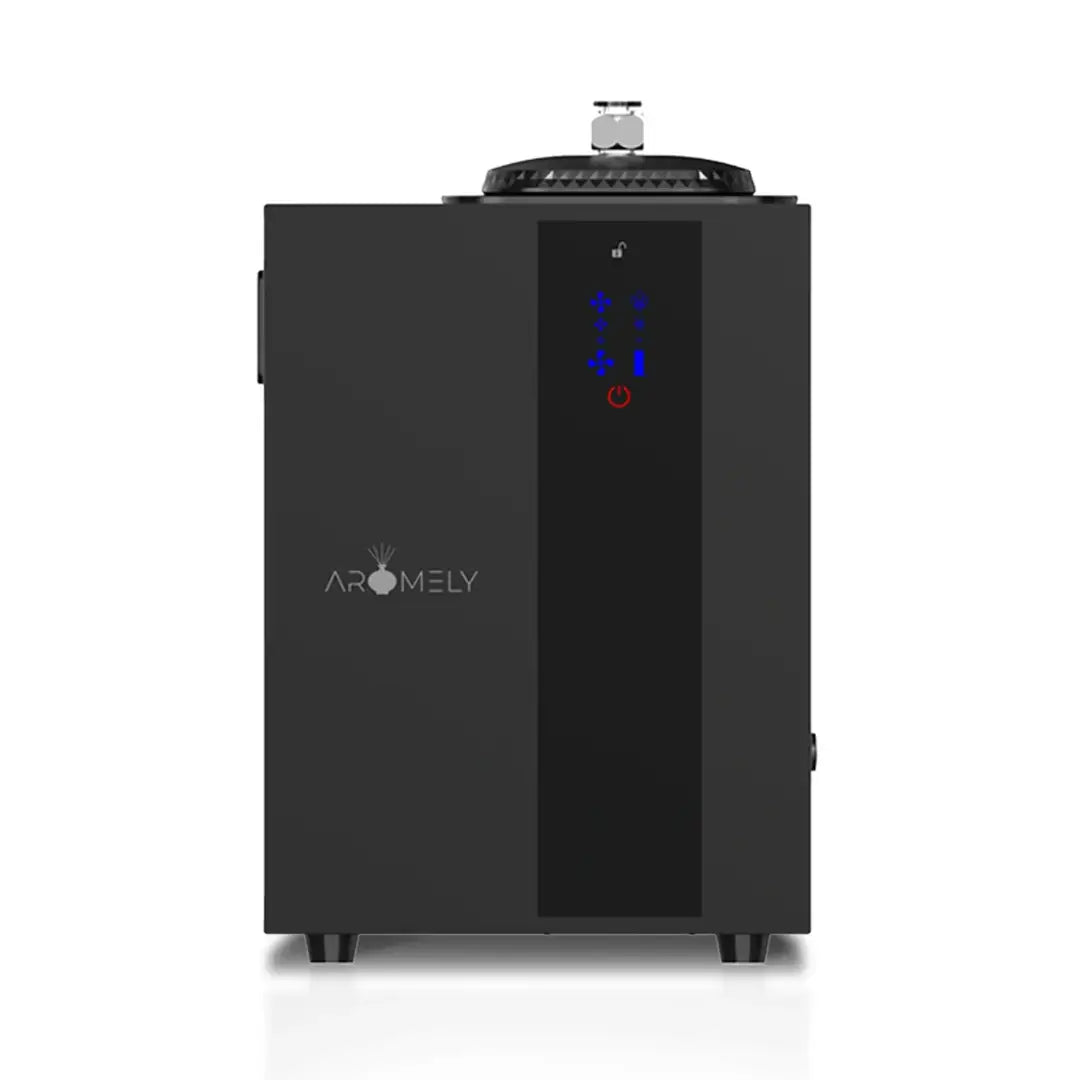
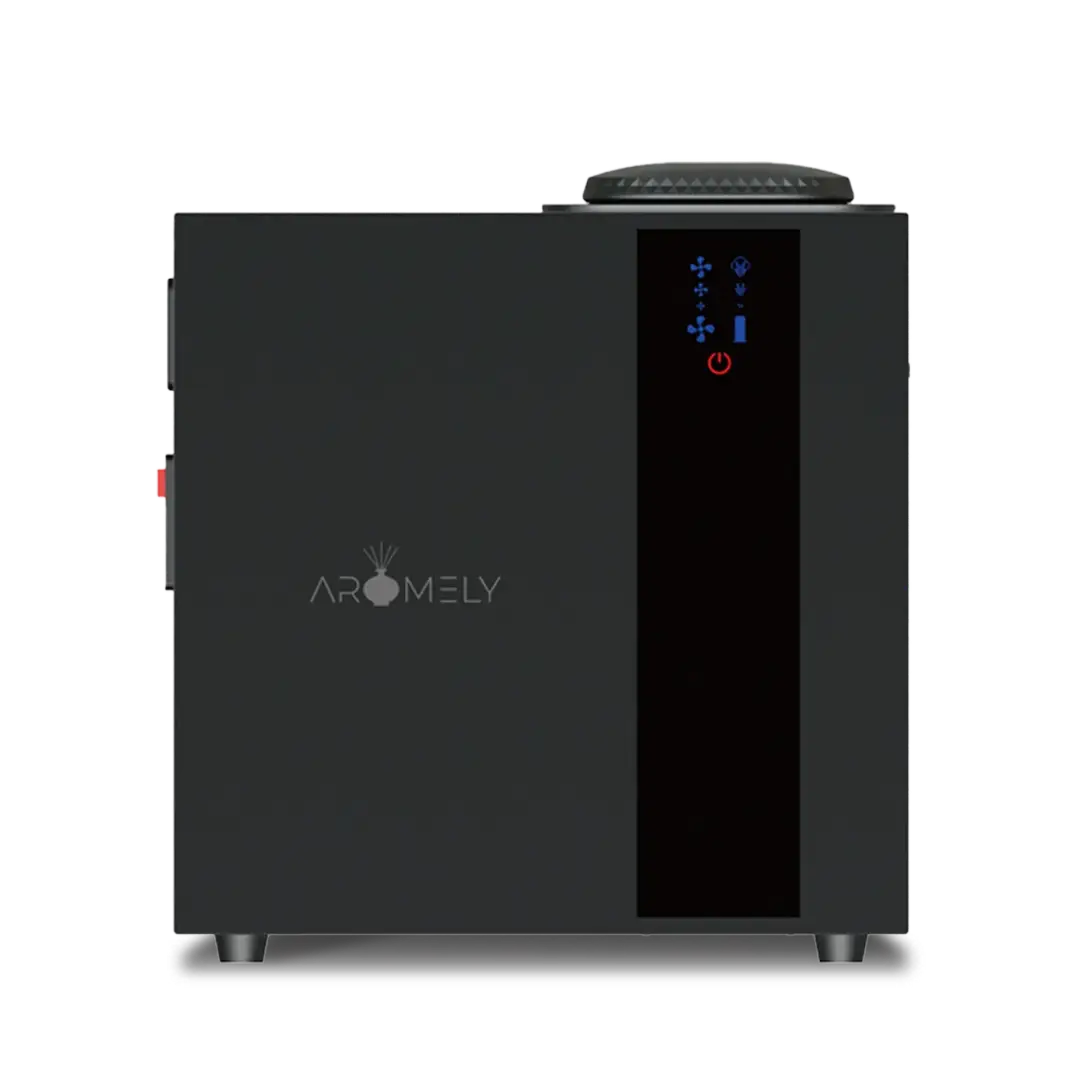
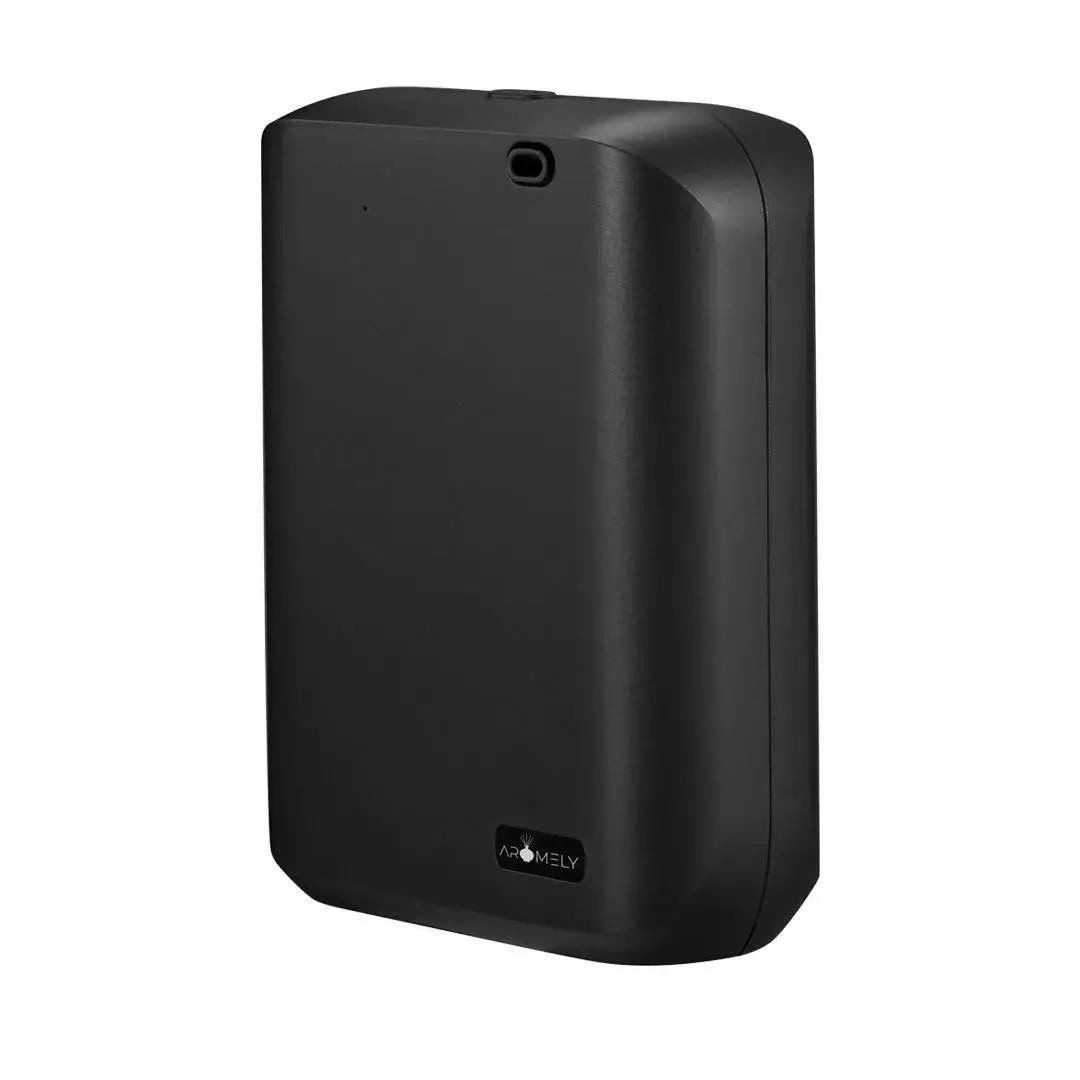
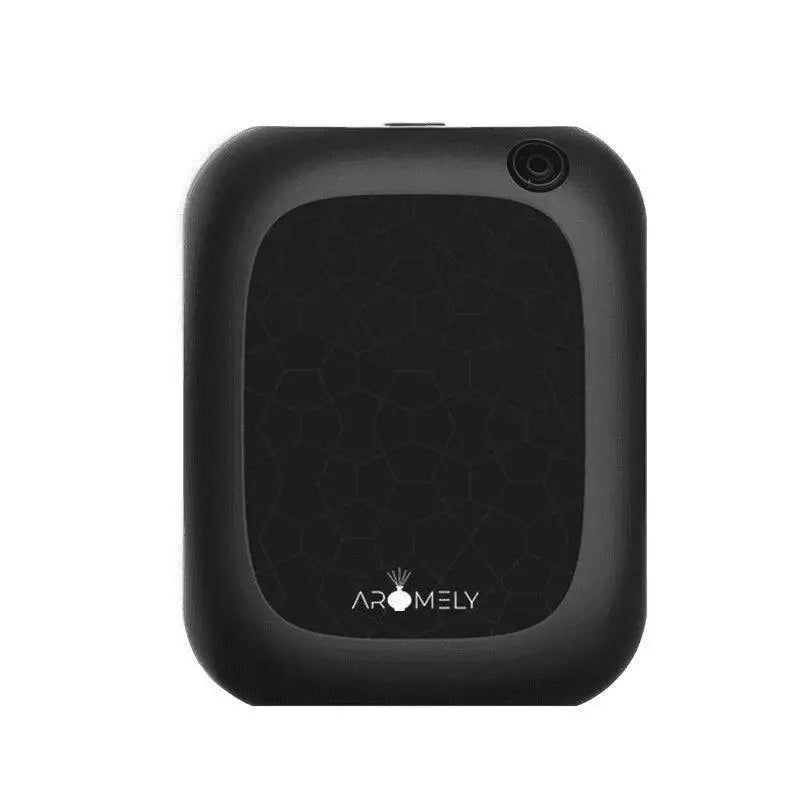
- Aro Lux Diffuser
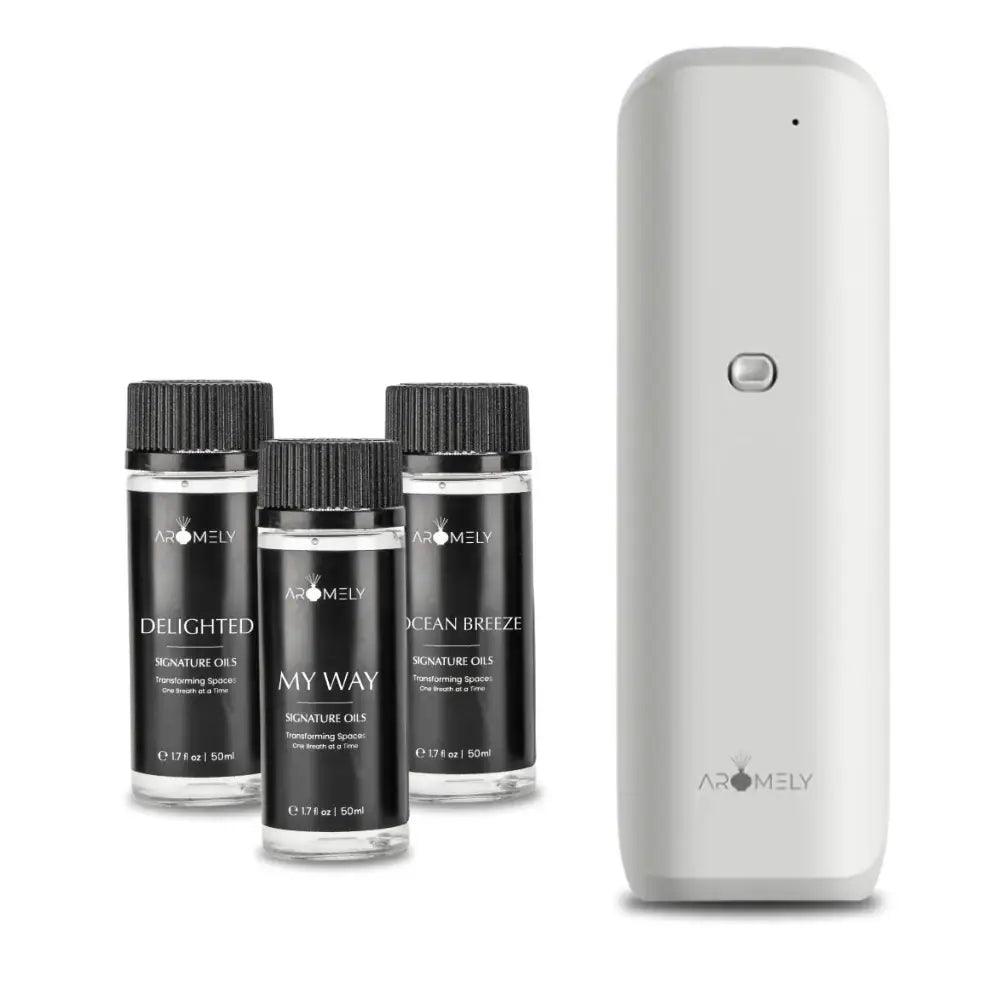
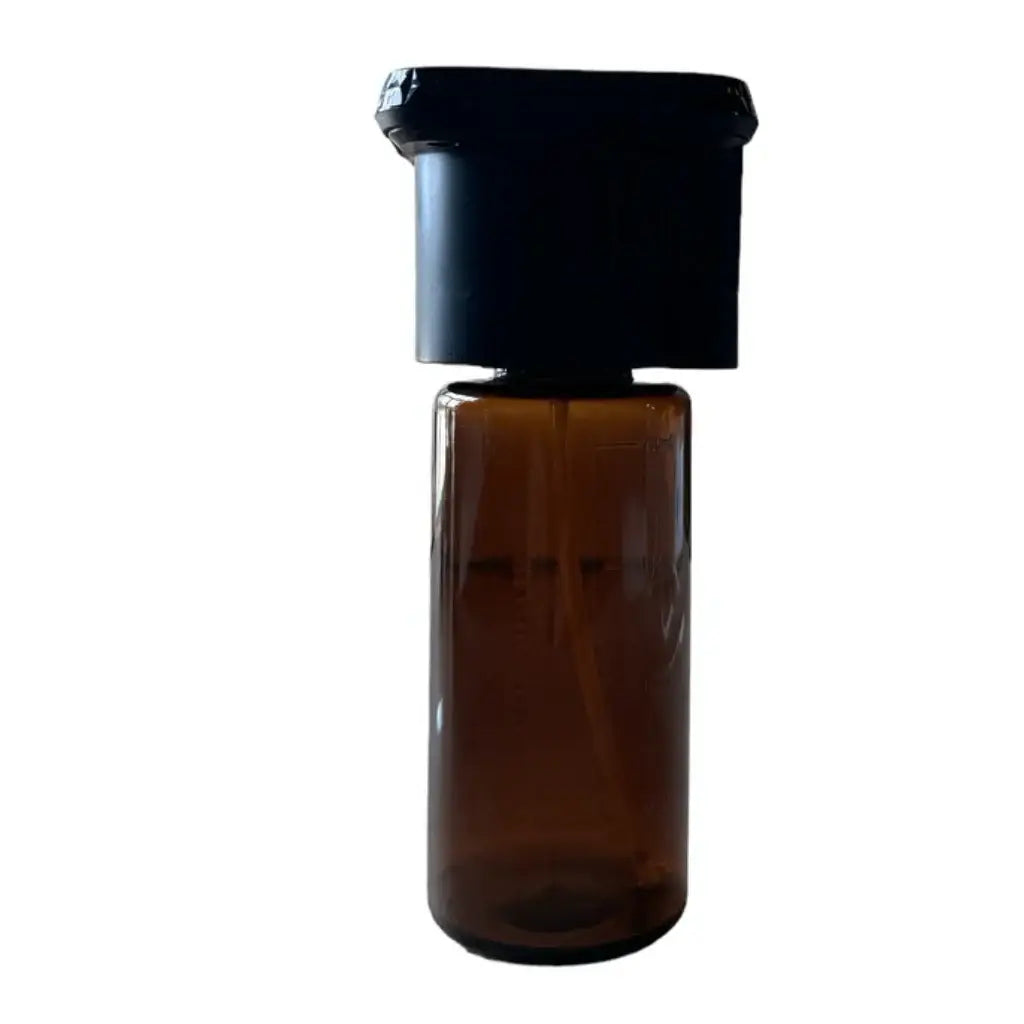
- 200mL Oil Bottle
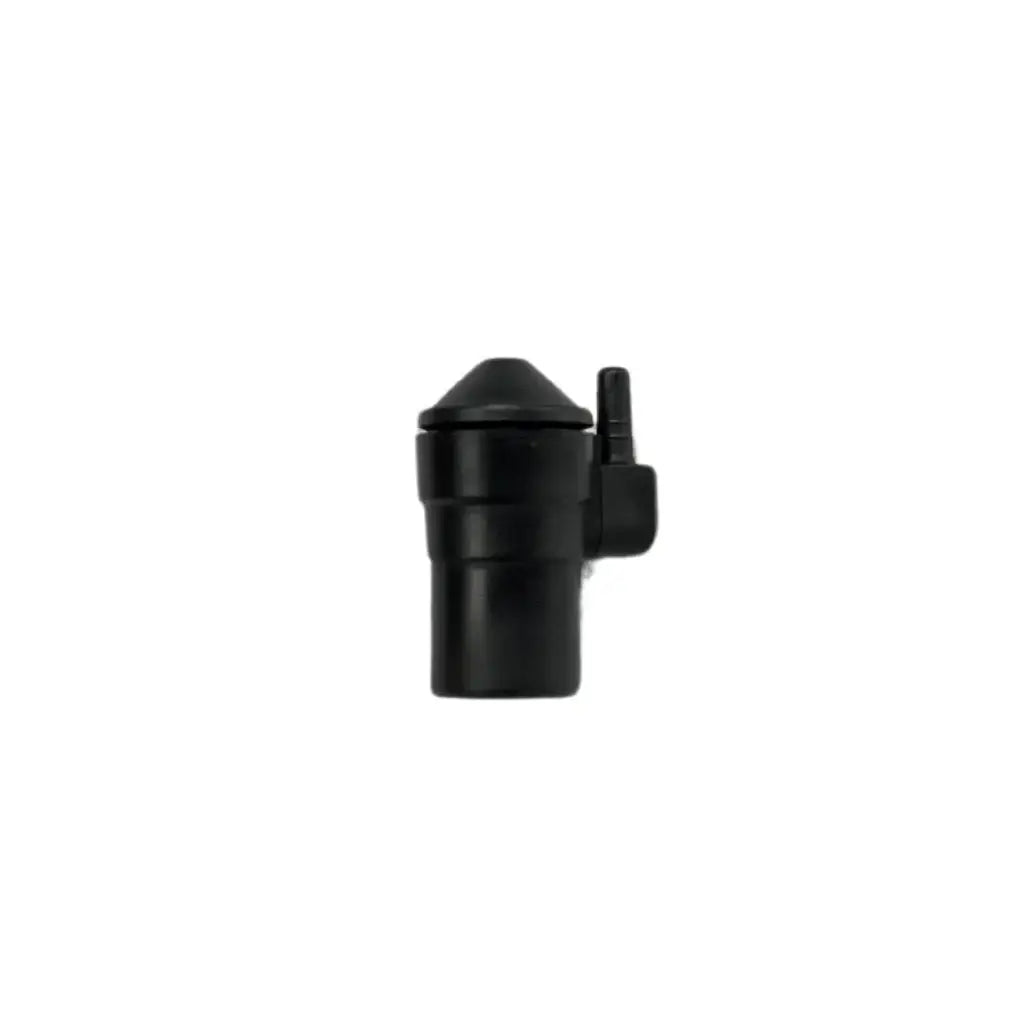
2. Opening & adding Oil
- Open the front cover of the diffuser.
- Remove the 200mL bottle.
- Fill the bottle with your preferred essential oil.
- Do not add water.
- Screw the bottle firmly back into the diffuser.
Important: Always keep the diffuser upright to prevent leaks and motor damage.


3. Choose Your Power Option (A)
Start with option A, to test all of your settings and you can use it like that.
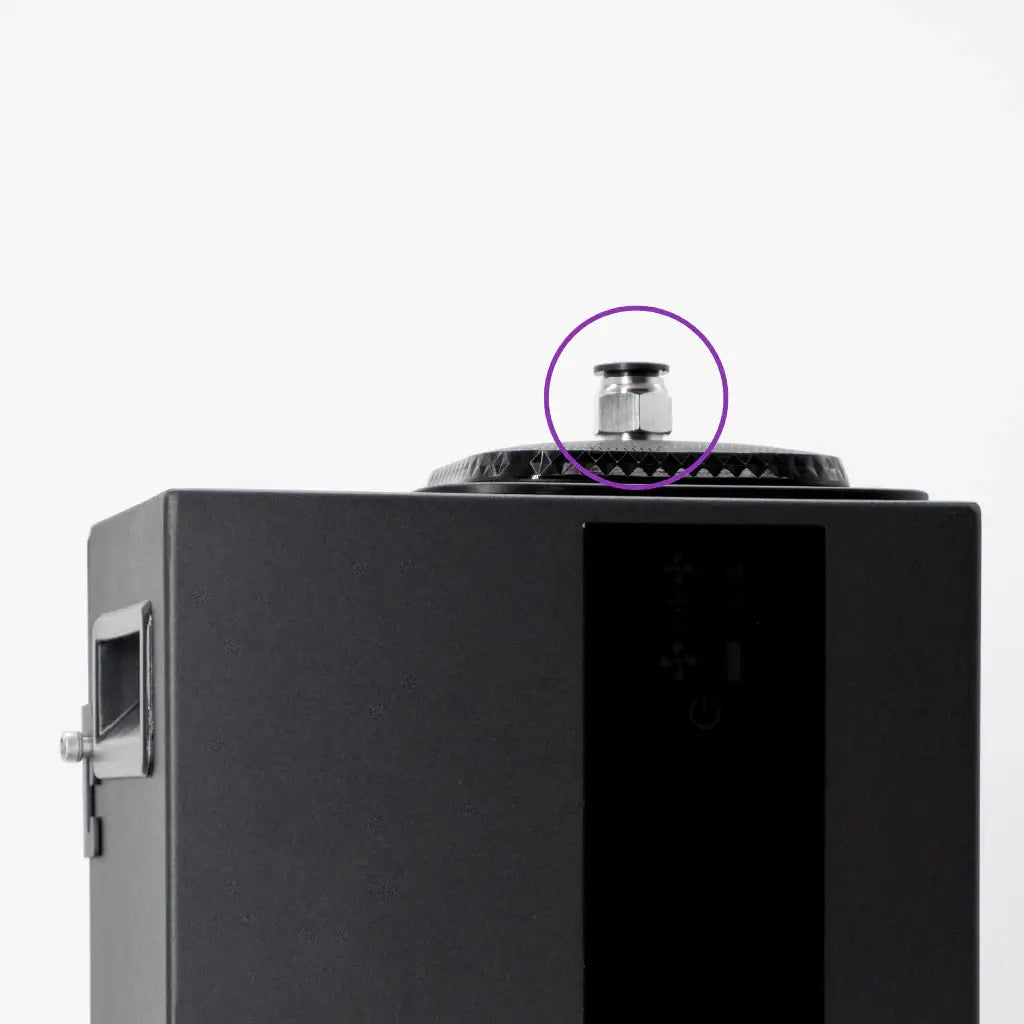
Option A — Plug-In Power
- Connect the USB-C cable to the diffuser.
- Plug into a power adapter.
Important: Do not use batteries and the power adapter at the same time.
3. Choose Your Power Option (B)
Option B — Battery Powered
- Insert three (3) D-size alkaline batteries into the rear compartment.
Important: Do not use batteries and the power adapter at the same time.

Step 1: Download Aromely App
- Search and download AROMELY App on Google Play or Apple App Store.
Open the App Store (iPhone) or Google Play Store (Android).
Search for "Aromely" in the search bar.
Click on the Aromely app from the search results.
Tap Download (iPhone) or Install (Android).
Once the app is installed, open it.
When prompted, allow Bluetooth permissions to enable device connectivity.


Step 2: Accessing and Managing Your Diffuser
Open the Aromely App.
On the home screen, you will see several options.
To manage your diffuser, tap on "Manage Diffusers".
This will take you to the device management screen, where you can add, configure, and control your diffuser.
💡 Additional Features on the Home Screen:
Language Selection: Tap the globe icon at the top right to switch the app language from English (default) to Spanish.
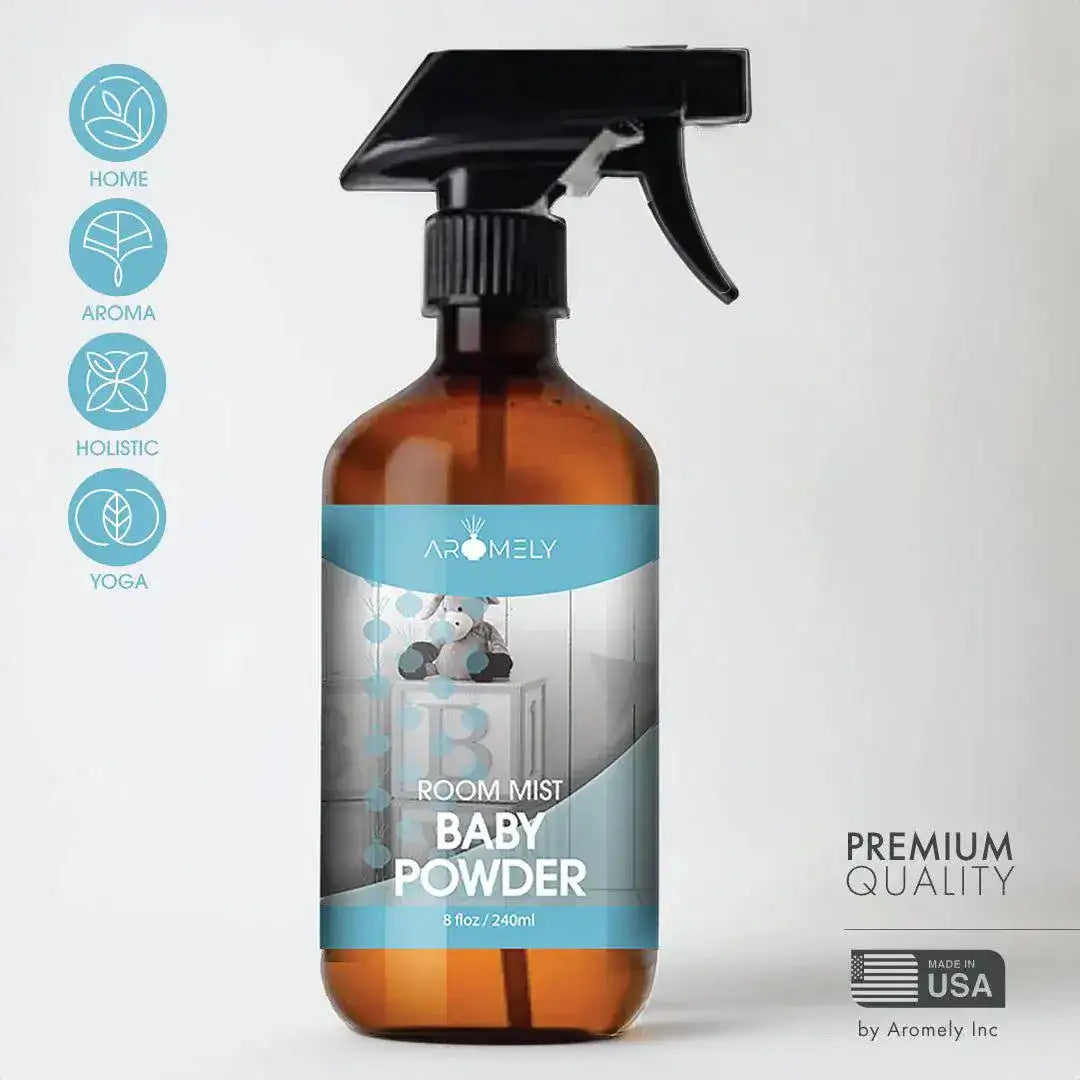
Quick Access: The Scent Diffusers, Diffuser Oils, and Room Sprays buttons provide direct links to Aromely products on the website for easy browsing.
Step 3: Viewing Available Diffusers
After tapping "Manage Diffusers", the app will display a list of all available Aromely diffusers within Bluetooth range.
The diffusers will automatically appear once Bluetooth permissions have been granted.
Each diffuser will display its name and signal strength (green for strong, red for weak).
At the bottom of the screen, you will find a "Setup Instructions" button. Tapping this button will provide access to user guides and instructions for easier setup.

Step 4: Creating and Managing Schedules
Select a Diffuser:
After completing Step 3, tap on the diffuser you want to manage.
This will open the Diffuser Details and Working Mode screen.
Understanding the Diffuser Details Section:
Customer Service Icon (Top Right):
This allows Aromely support to remotely access your diffuser for troubleshooting.
Available only during business hours.
Settings Icon (Below Customer Service Icon):
Tap this to change the default diffuser password to a custom password (optional).
Name & Note:
You can rename your diffuser or add a custom note (e.g., "Master Room - Peaceful").
Fan Setting:
Some diffusers have a fan control option, but not all models support this feature.
If your diffuser does not have a fan, this control will not appear in the app.
Understanding the Working Mode Section:
Time Display (Clock Icon):
Tap to switch between 12-hour mode (AM/PM) and 24-hour military time.
Adding a Schedule (Plus + Icon):
Tap the + icon to create a new schedule.
You can add up to 5 different schedules for each diffuser.
Modifying a Schedule (Pencil Icon):
Tap the pencil icon on the left side of any schedule to edit it.
Activating or Deactivating a Schedule (On/Off Switch):
Each schedule has a toggle switch to enable or disable it.

Step 5: Programming a Schedule
Select the Diffuser:
Follow Step 4 to access the Working Mode section.
Tap the pencil icon on an existing schedule to edit it or tap the + icon to create a new one.
Set Scheduled Days:
Select the days the schedule should be active (e.g., Monday to Friday).
Days will be highlighted when selected.
Set Active Hours:
Choose the Start Time (when the diffuser turns on).
Choose the End Time (when the diffuser turns off).
Set Diffusion Cycle:
Diffusion Time: Set how long the diffuser will work during each cycle (e.g., 30 seconds).
Pause Time: Set how long the diffuser will pause between diffusion cycles (e.g., 60 seconds).
Save the Schedule:
Tap “Apply Schedule” to save your settings.
Deleting a Schedule:
To remove a schedule, tap the trash icon in the top-right corner.
Need Technical Support?
Open the Technical Support Screen:
Tap the Customer Service icon (headset icon) in the Diffuser Details section.
This will open the Technical Support page.
How to Contact Support:
Call the technical support number displayed on the screen.
Provide the representative with your Service Tag Code to identify your device.
If you need remote assistance, the support team can access your diffuser during business hours.
Business Hours & Availability:
If you access the page outside of business hours, the screen will display a “Closed” message.
Support is available from 9:00 AM - 5:00 PM (EST) on business days.
Ending a Remote Support Session:
If you granted remote access for troubleshooting, you can end the session at any time by tapping “End Remote Support Session”.


Need Further Assistance?
We hope this guide was helpful. For further questions or support, chat with us or give us a call — we’re here to help you.
ⓘ The Call Support Center is available Monday through Friday from 9 AM to 5 PM EST. If you call outside of office hours, our virtual assistant may help you resolve your inquiry.