How To Properly Clean And Maintain Your Scent Diffuser?
Are you tired of constantly buying new scent diffusers because your old ones just aren't working as well as they used to? Or are you just looking for a way to keep your current diffuser in top shape and make it last as long as possible? Proper cleaning and maintenance is the key to ensuring that your scent diffuser continues to function effectively and provide a pleasant aroma in your home or office.
In this guide, we will go over the steps for properly cleaning and maintaining your diffuser, as well as some troubleshooting tips for common issues. With a little bit of care and attention, you can keep your diffuser functioning at its best and avoid the need for frequent replacements. So sit back, relax, and let's get your diffuser looking and smelling its best!
Step 1: Identify the type of diffuser you have
Each type of diffuser has its own set of cleaning and maintenance requirements, so it is important to identify which type you have before proceeding.
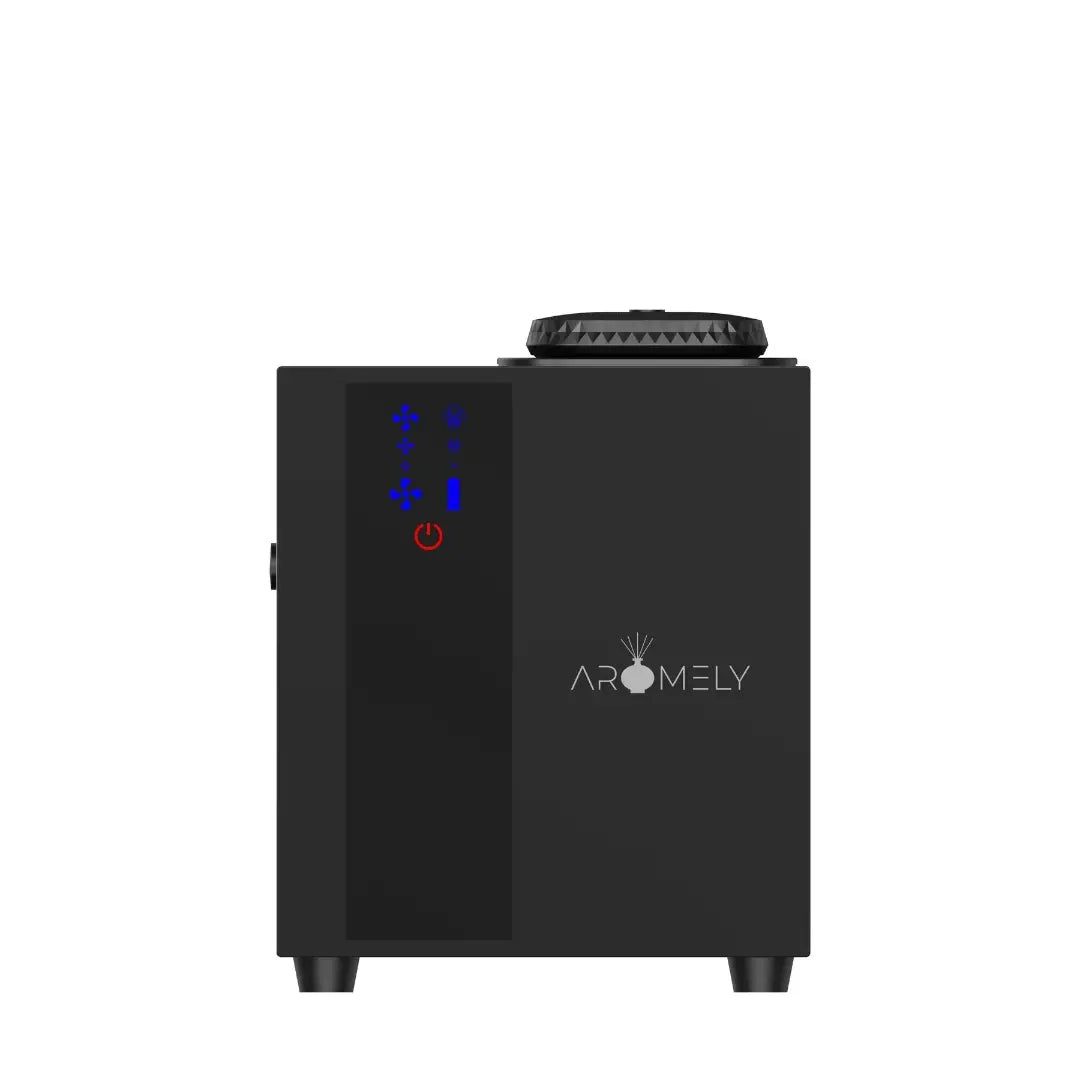
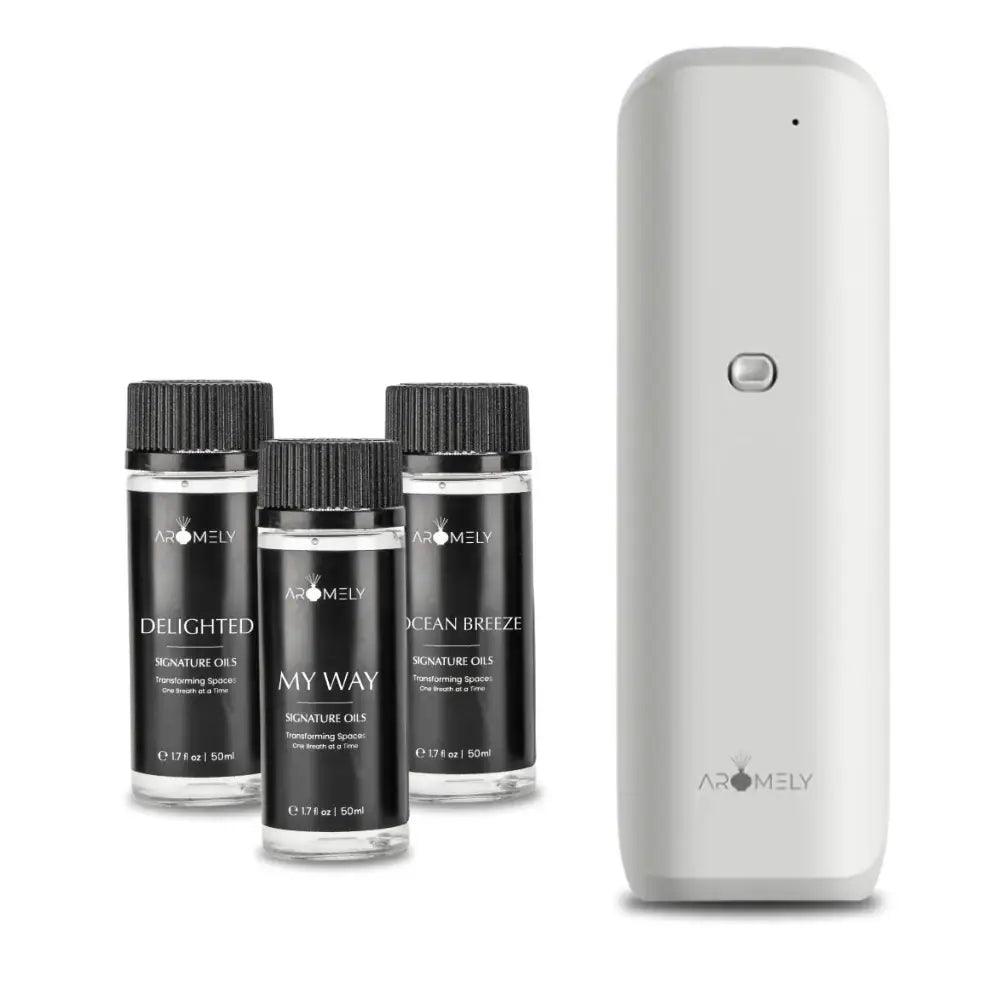
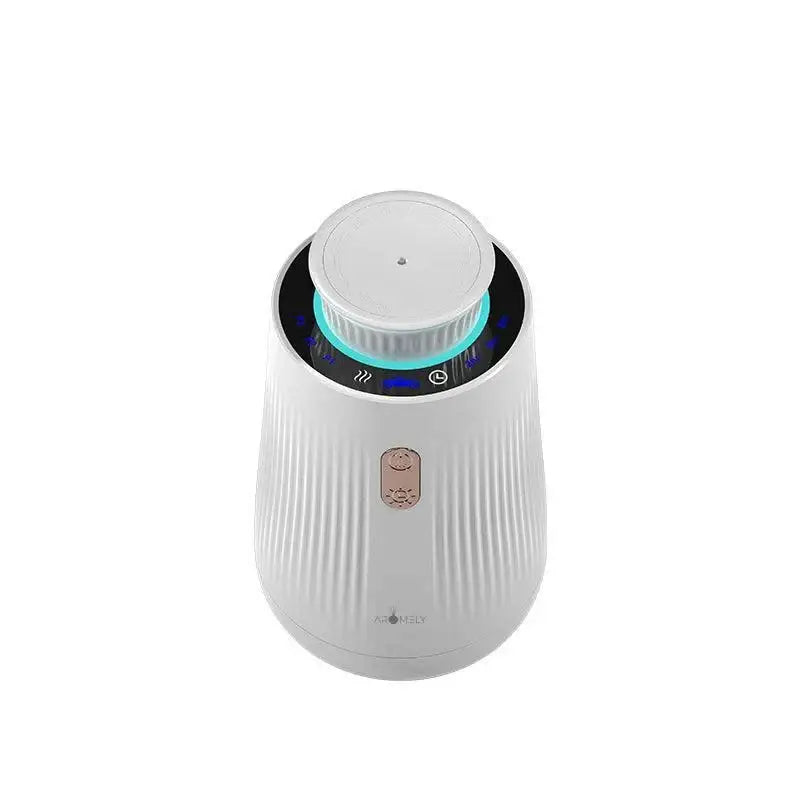
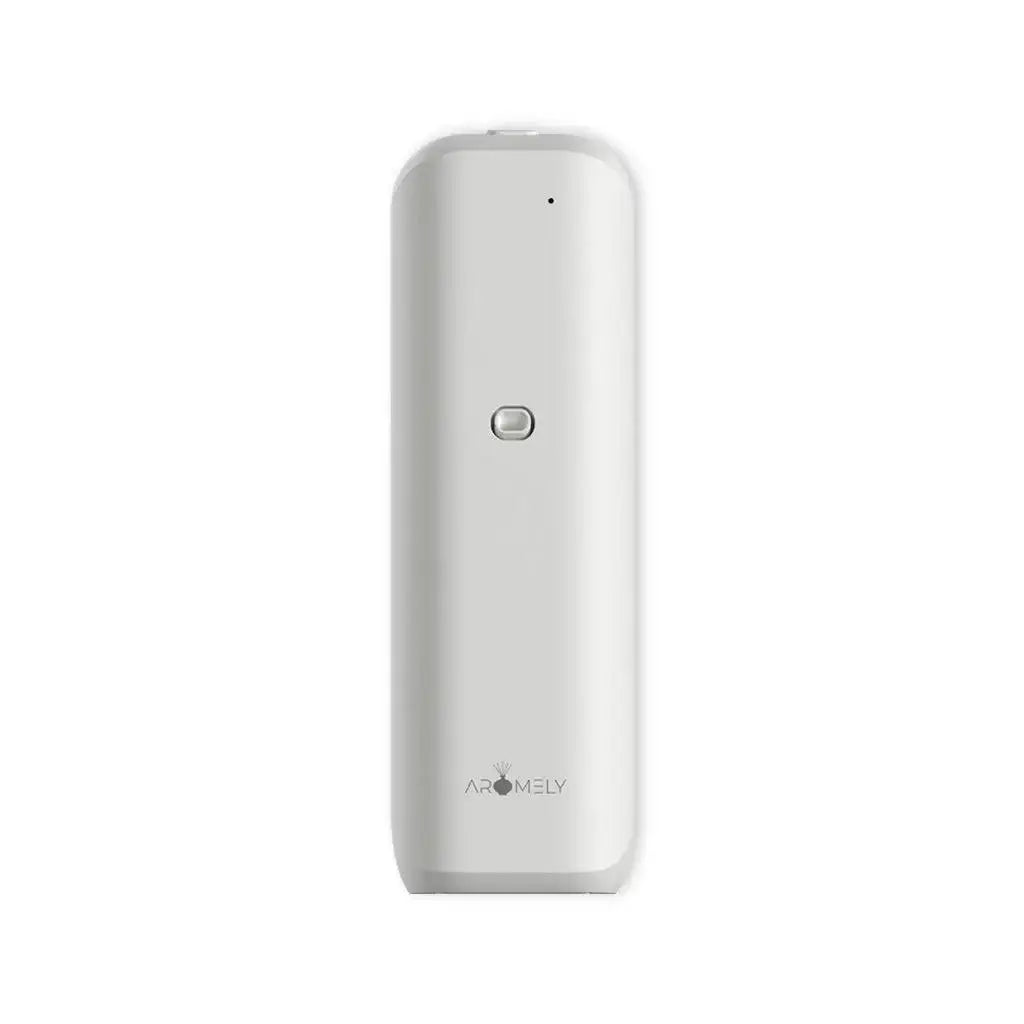
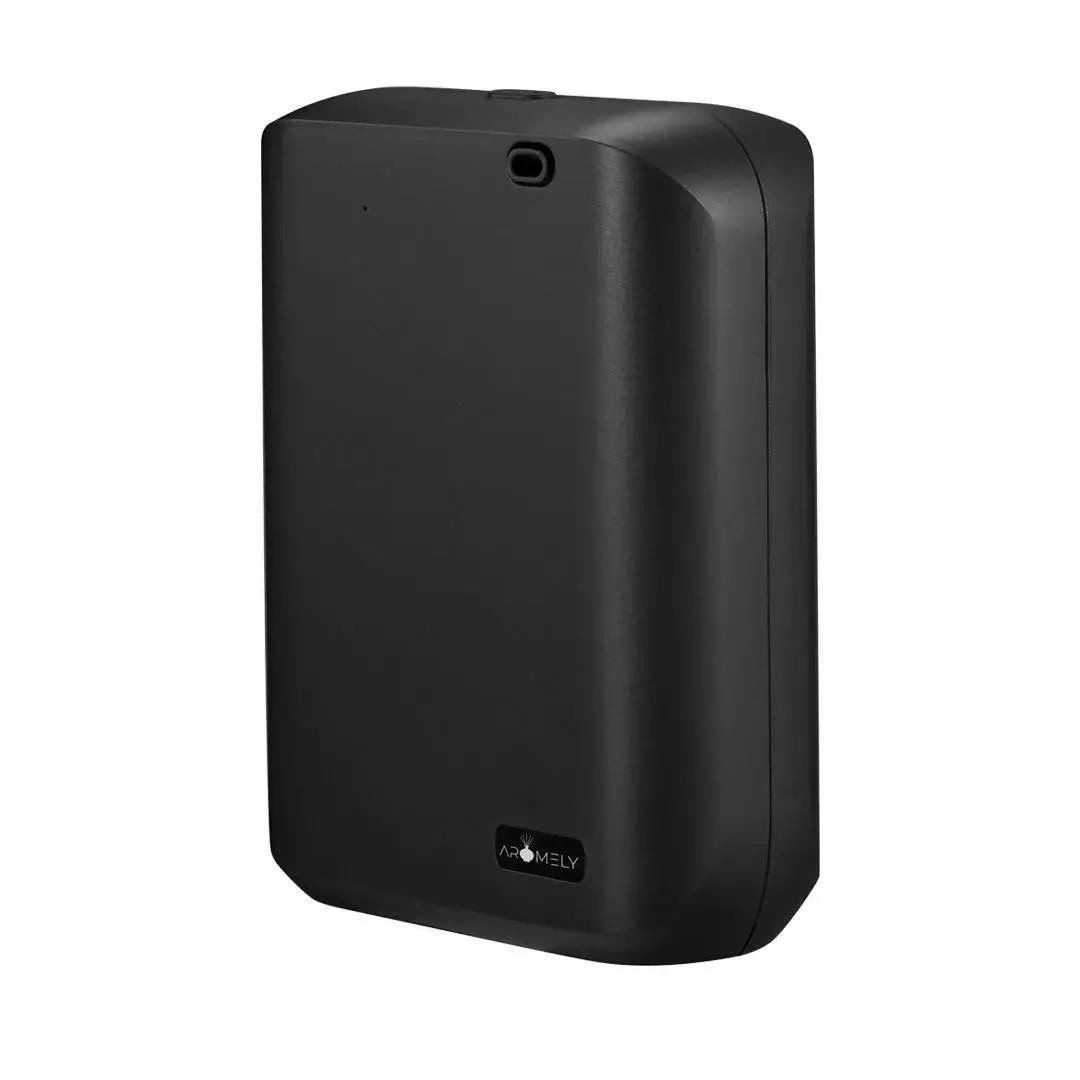
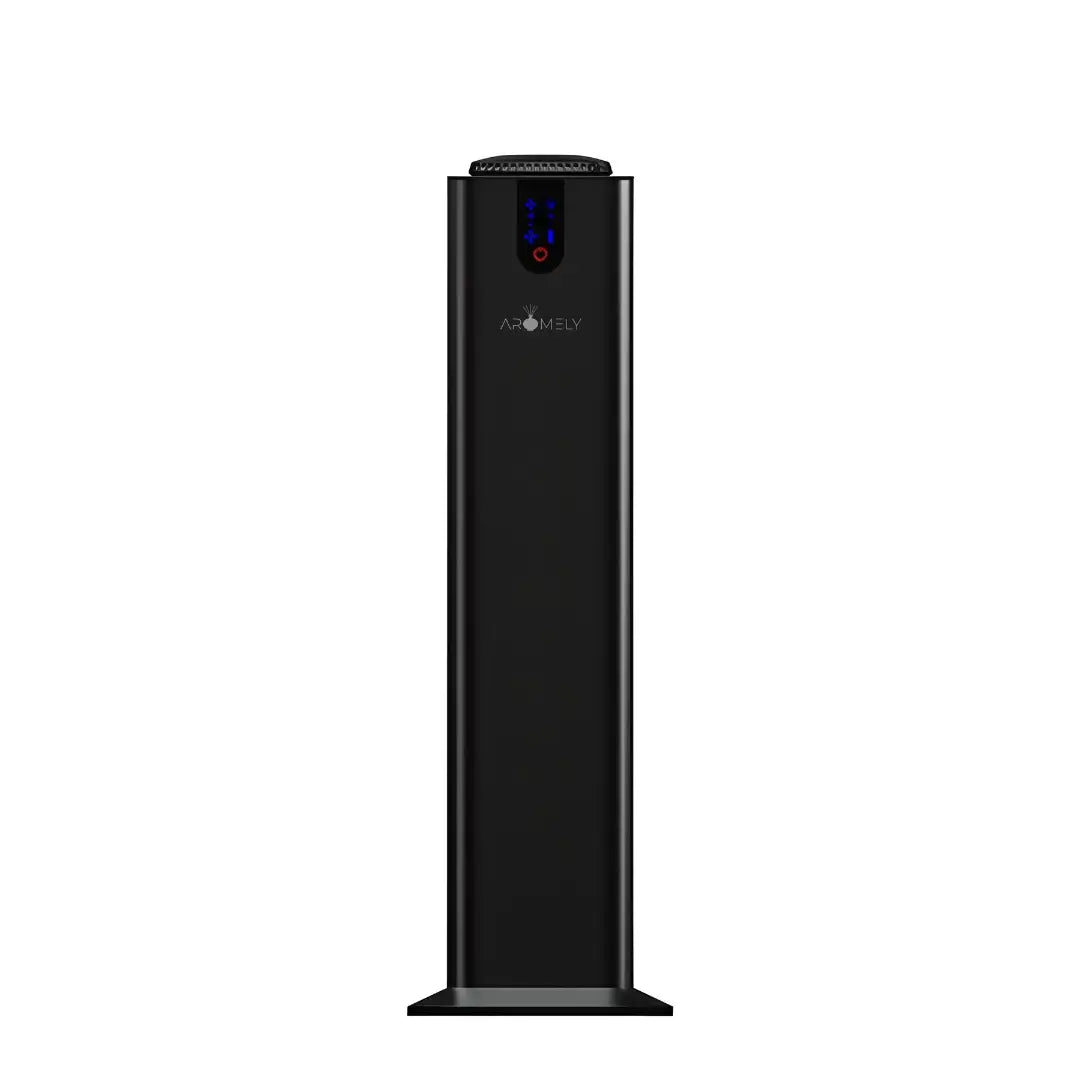
- Electric diffusers: These diffusers use electricity to heat or disperse essential oils or fragranced liquids. They may have a removable reservoir or cartridge that can be easily refilled.
- Candle-based diffusers: These diffusers use a candle to heat the essential oils or fragranced liquids, which are typically contained in a separate dish or tray.
- Reed diffusers: These diffusers use reeds or sticks to draw the essential oils or fragranced liquids up from the reservoir and disperse the scent into the air.
Step 2: Gather your cleaning supplies
Before you start cleaning your scent diffuser, it is important to gather all the necessary supplies to make the process as smooth and efficient as possible. Here is a list of supplies that may be useful for cleaning and maintaining your scent diffuser:
Soft cloths or paper towels: Soft cloths or paper towels are less likely to scratch or damage the diffuser compared to harsher materials like steel wool or abrasive sponges.
Q-tips or cotton swabs: These can be useful for cleaning hard-to-reach areas or removing any stubborn stains or build-up.
Distilled water: This is a good option for rinsing out the reservoir or cartridge of your diffuser, as it is free of impurities and minerals that may interfere with the performance of the diffuser.
White vinegar: This is a natural, effective cleaning agent that can be used to remove any build-up of oils or other substances on the diffuser. A mixture of equal parts white vinegar and water can be used to gently clean the surfaces of the diffuser.
Rubbing alcohol: Can be used to disinfect the diffuser and remove any tough stains or residues. It is particularly effective for cleaning electric diffusers, as it evaporates quickly and won't leave any residue behind.
Essential oils (optional): If you want to add a fresh, natural scent to your diffuser after cleaning it, you can use a small number of essential oils in the reservoir or cartridge. Just be sure to follow the manufacturer's instructions for your specific diffuser to determine the appropriate amount to use.
Fragranced liquids (optional): If you prefer a more synthetic or commercial scent, you can use fragranced liquids in your diffuser instead of essential oils. Just be sure to follow the manufacturer's instructions for your specific diffuser to determine the appropriate amount to use.
Step 3: Empty and refill the reservoir or cartridge
If your diffuser has a removable reservoir or cartridge, it is a good idea to empty and refill it on a regular basis. This will help prevent any build-up of oils or other substances that may clog the diffuser or affect its performance.
To empty and refill the reservoir or cartridge:
- Turn off and unplug the diffuser.
- Remove the reservoir or cartridge and empty any remaining liquid into the sink or a container.
- Rinse the reservoir or cartridge thoroughly with distilled water.
- Fill the reservoir or cartridge with the desired essential oils or fragranced liquids, following the manufacturer's instructions.
- Replace the reservoir or cartridge and plug in the diffuser.
- It is generally recommended to refill the reservoir or cartridge every 1-2 weeks, depending on the size of the diffuser and the intensity of the scent desired.
Step 4: Clean the diffuser
Depending on the type of diffuser you have, you may need to clean it periodically to remove any build-up of oils, dirt, or other substances. Here are some specific cleaning instructions for each type of diffuser:
Electric diffusers:
- Turn off and unplug the diffuser.
- Remove the reservoir or cartridge and empty any remaining liquid into the sink or a container.
- Rinse the reservoir or cartridge thoroughly with distilled water.
- Wipe the interior and exterior of the diffuser with a soft cloth or paper towel. If there is any build-up of oils or other substances, you can use a mixture of equal parts white vinegar and water to gently clean the surfaces. Be sure to avoid getting any liquid into the electrical components of the diffuser.
- If there are any hard-to-reach areas or stubborn stains, you can use a Q-tip or cotton swab dipped in rubbing alcohol to gently clean them.
- Dry the diffuser thoroughly before replacing the reservoir or cartridge and plugging it in.
- It is generally recommended to clean electric diffusers every 1-2 weeks, depending on the intensity of use and the type of oils or fragranced liquids being used.
Candle-based diffusers:
- Allow the candle to cool completely before handling it.
- Remove the dish or tray containing the essential oils or fragranced liquids and discard any remaining liquid.
- Wipe the dish or tray with a soft cloth or paper towel to remove any build-up of oils or other substances. If necessary, you can use a mixture of equal parts water and baking soda to gently scrub away any stains or residue.
- Rinse the dish or tray thoroughly with water and dry completely.
- Trim the wick of the candle to about 1/4 inch before lighting it again.
- You can clean it weekly or bi-weekly.
Reed diffusers
- Remove the cap from the reservoir and set it aside.
- Carefully remove the reeds from the reservoir and set them aside.
- Pour out any remaining liquid from the reservoir into the sink or a container.
- Rinse the reservoir thoroughly with distilled water.
- Fill the reservoir with a mixture of equal parts white vinegar and water. Insert the reeds back into the reservoir and let them soak for at least an hour.
- Remove the reeds from the reservoir and discard the vinegar mixture. Rinse the reservoir thoroughly with distilled water and dry completely.
- Refill the reservoir with the desired essential oils or fragranced liquids, following the manufacturer's instructions. Insert the reeds back into the reservoir and replace the cap.
Step 5: Replace the reeds or sticks
If you have a reed diffuser, it is a good idea to replace the reeds or sticks every month or so to ensure that the scent is being dispersed effectively. To replace the reeds or sticks:
- Remove the cap from the reservoir and set it aside.
- Carefully remove the old reeds or sticks from the reservoir and discard them.
- Insert the new reeds or sticks into the reservoir and replace the cap.
- Step 6: Troubleshoot common problems
Common Problems Faced
Here are some common problems you may encounter with your scent diffuser and some possible solutions:
Not dispersing a strong enough scent
Make sure that the reservoir or cartridge is full and that the essential oils or fragranced liquids are properly diluted, if necessary. You can also try replacing the reeds or sticks, as they may have become clogged or exhausted. If you are using an electric diffuser, check the settings to make sure that the intensity is set to the desired level.
Make sure that the reeds or sticks are properly inserted into the reservoir and that the cap is securely tightened. You can also try flipping the reeds or sticks over to expose a fresh, undried end. If the scent is still not strong enough, you may need to replace the reeds or sticks.
Dispersing a too-strong scent
Try reducing the amount of essential oils or fragranced liquids in the reservoir or cartridge. You can also try adjusting the settings on an electric diffuser or trimming the wick on a candle-based diffuser.
Try removing a few of the reeds or sticks from the reservoir to reduce the amount of scent is dispersed. You can also try flipping the reeds or sticks over so that the dry end is exposed, which will help to reduce the intensity of the scent.
Bottom Line
By following the steps outlined in this guide, you can properly clean and maintain your scent diffuser to ensure that it continues to provide a pleasant aroma in your home or office. With regular cleaning and maintenance, your diffuser should continue to function well and provide a consistent, enjoyable scent.
Remember to always follow the manufacturer's instructions for your specific diffuser, as well as any safety precautions, to ensure optimal performance and avoid any potential issues.













Leave a comment
Please note, comments must be approved before they are published
This site is protected by hCaptcha and the hCaptcha Privacy Policy and Terms of Service apply.